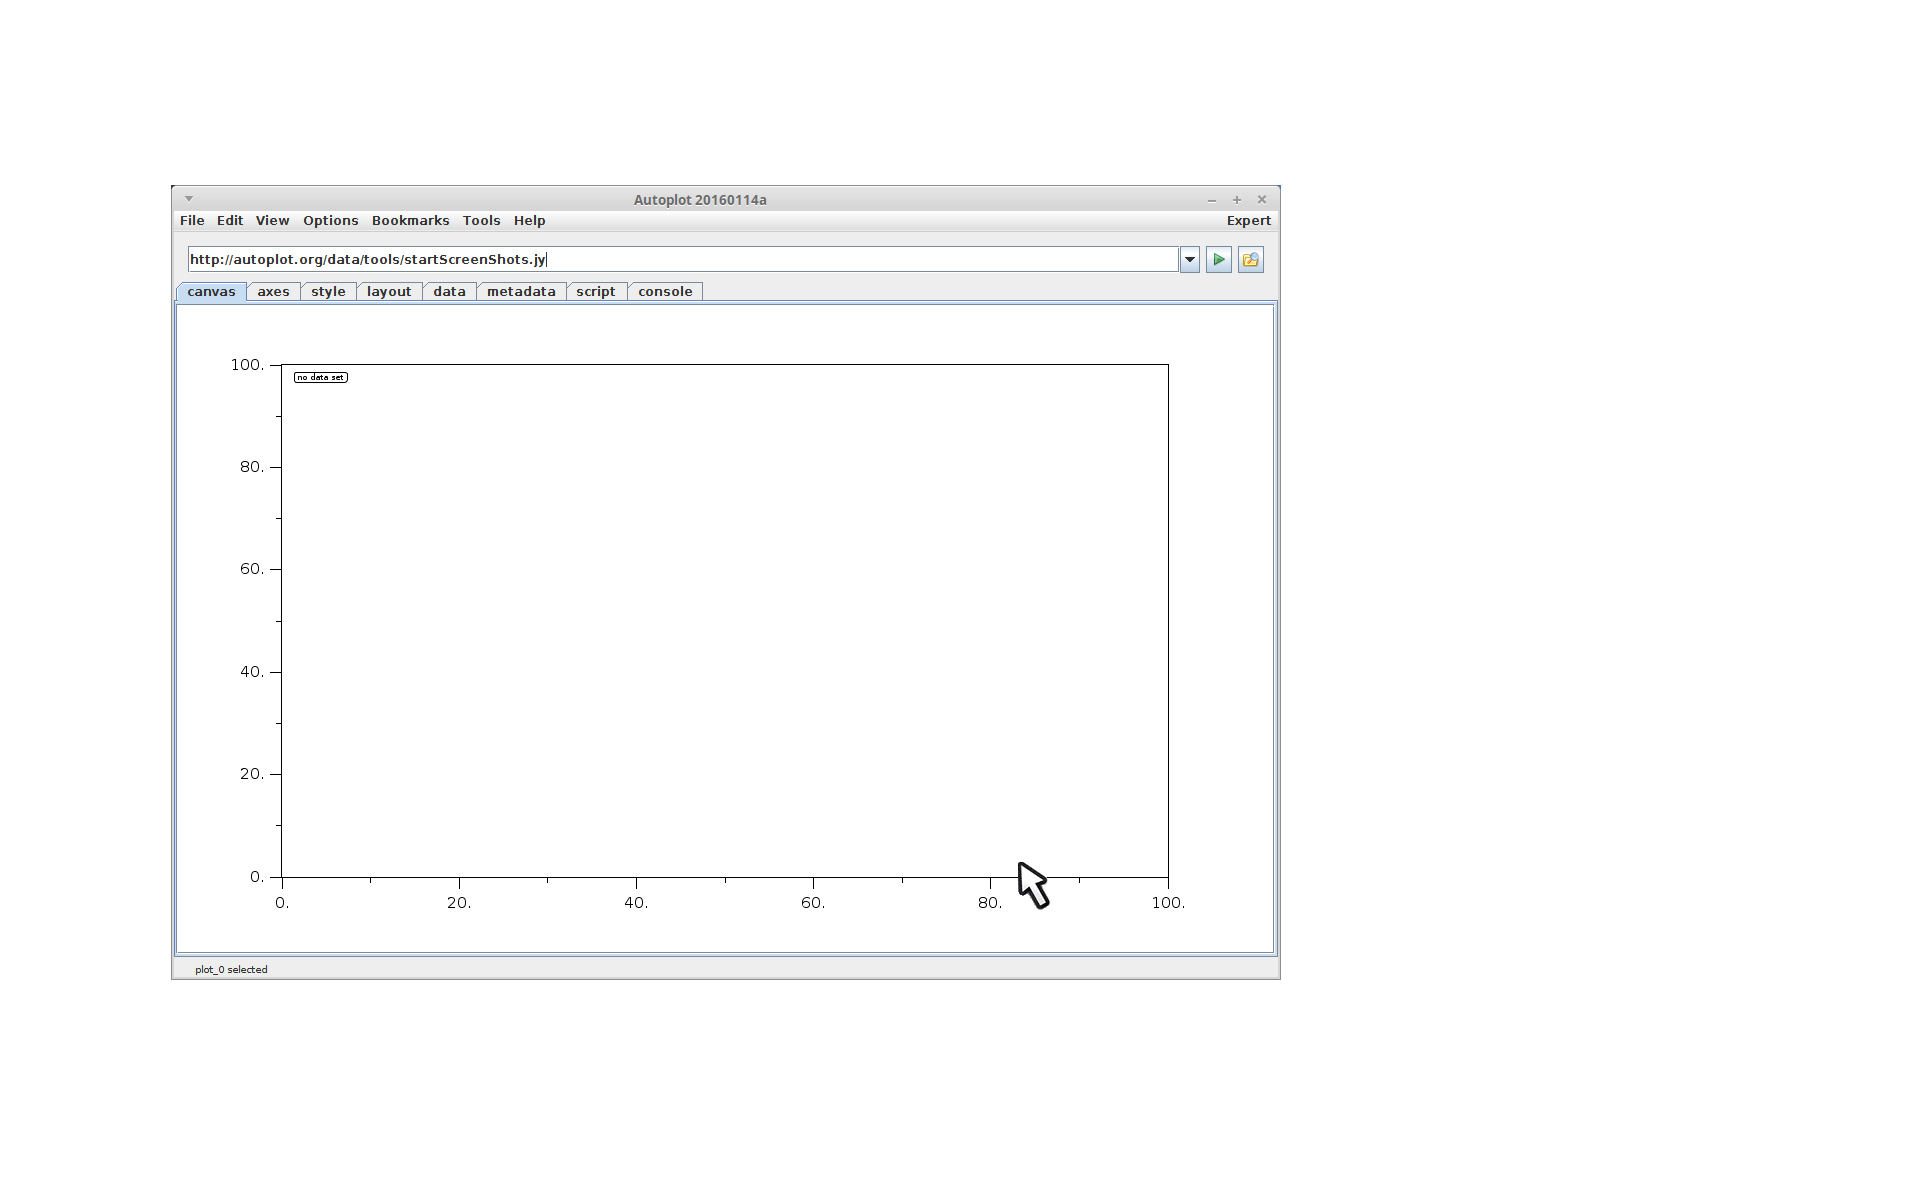
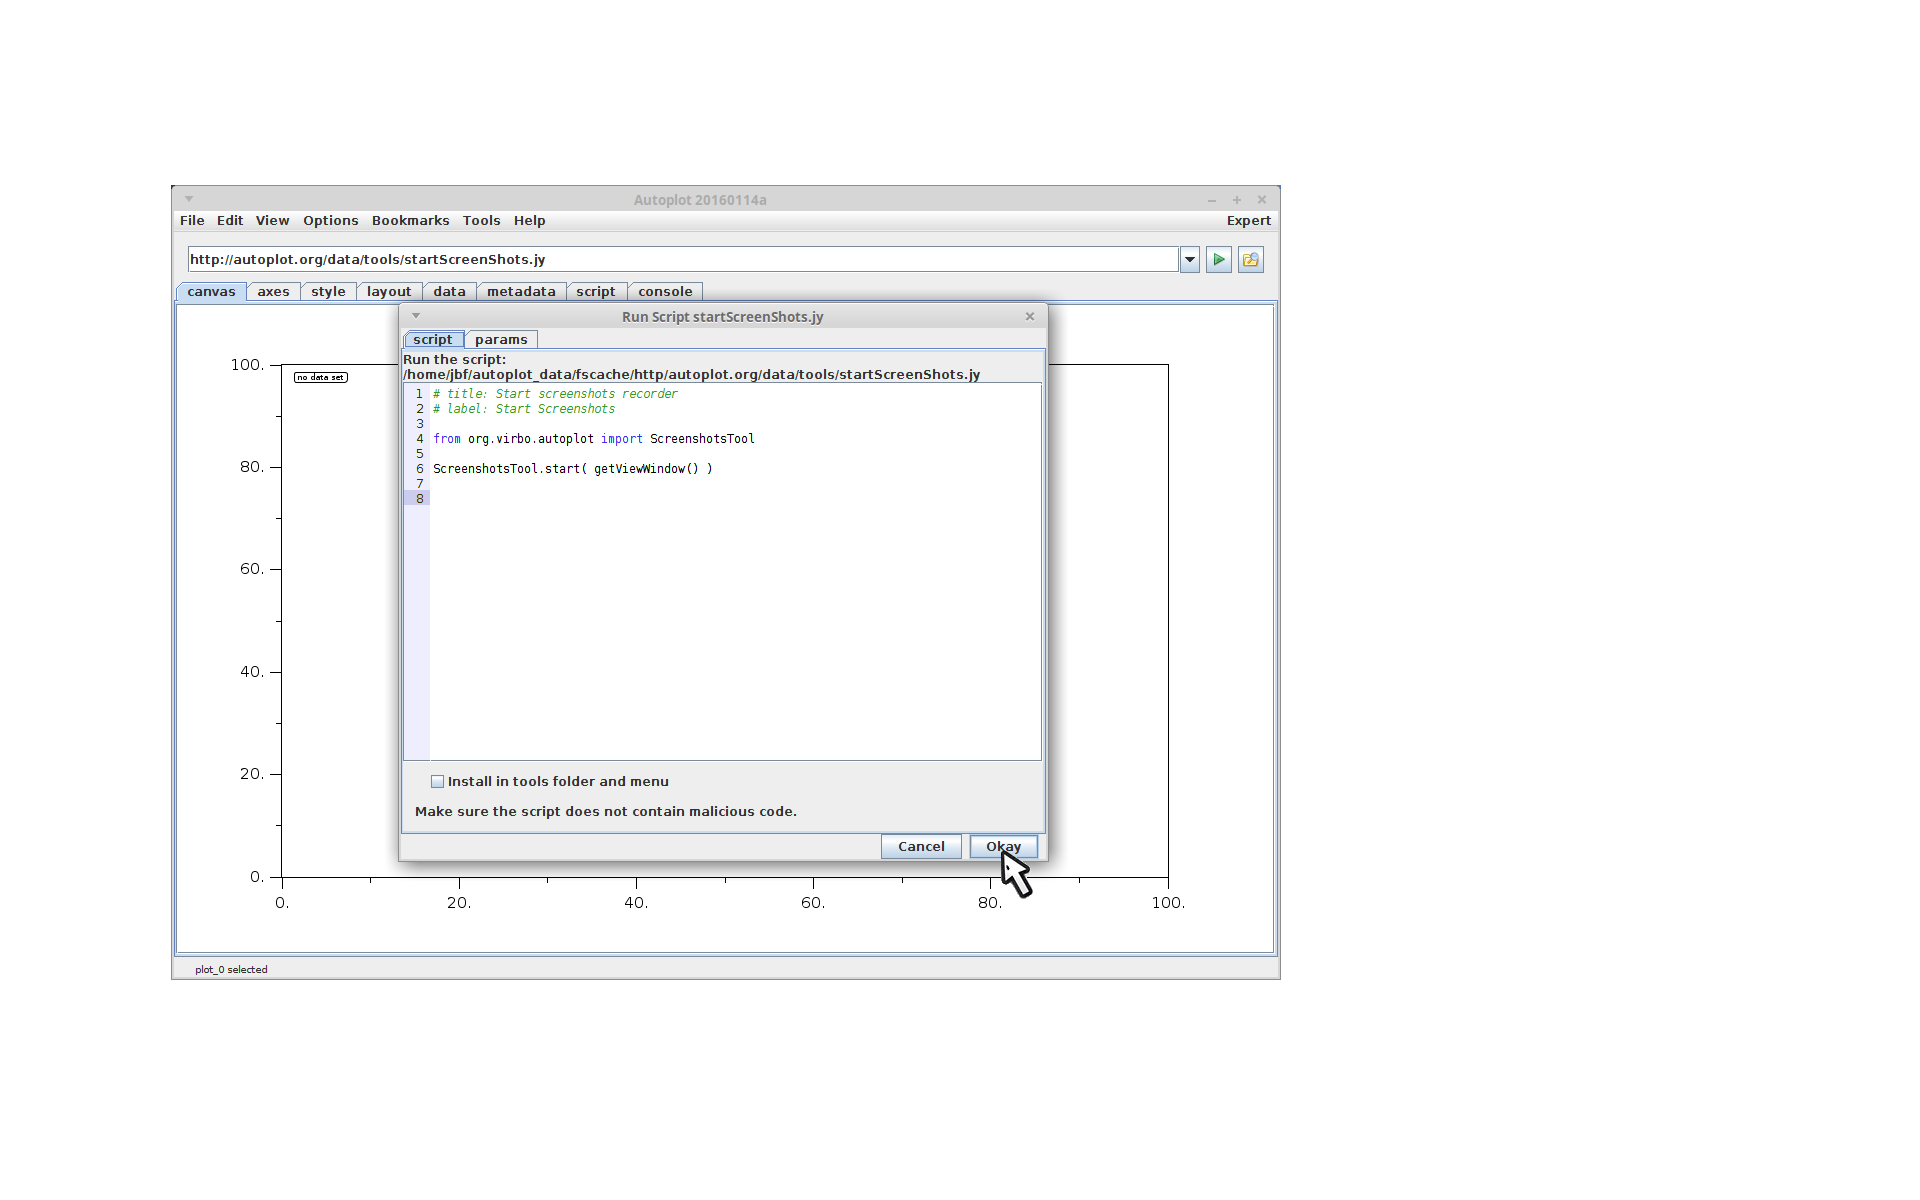
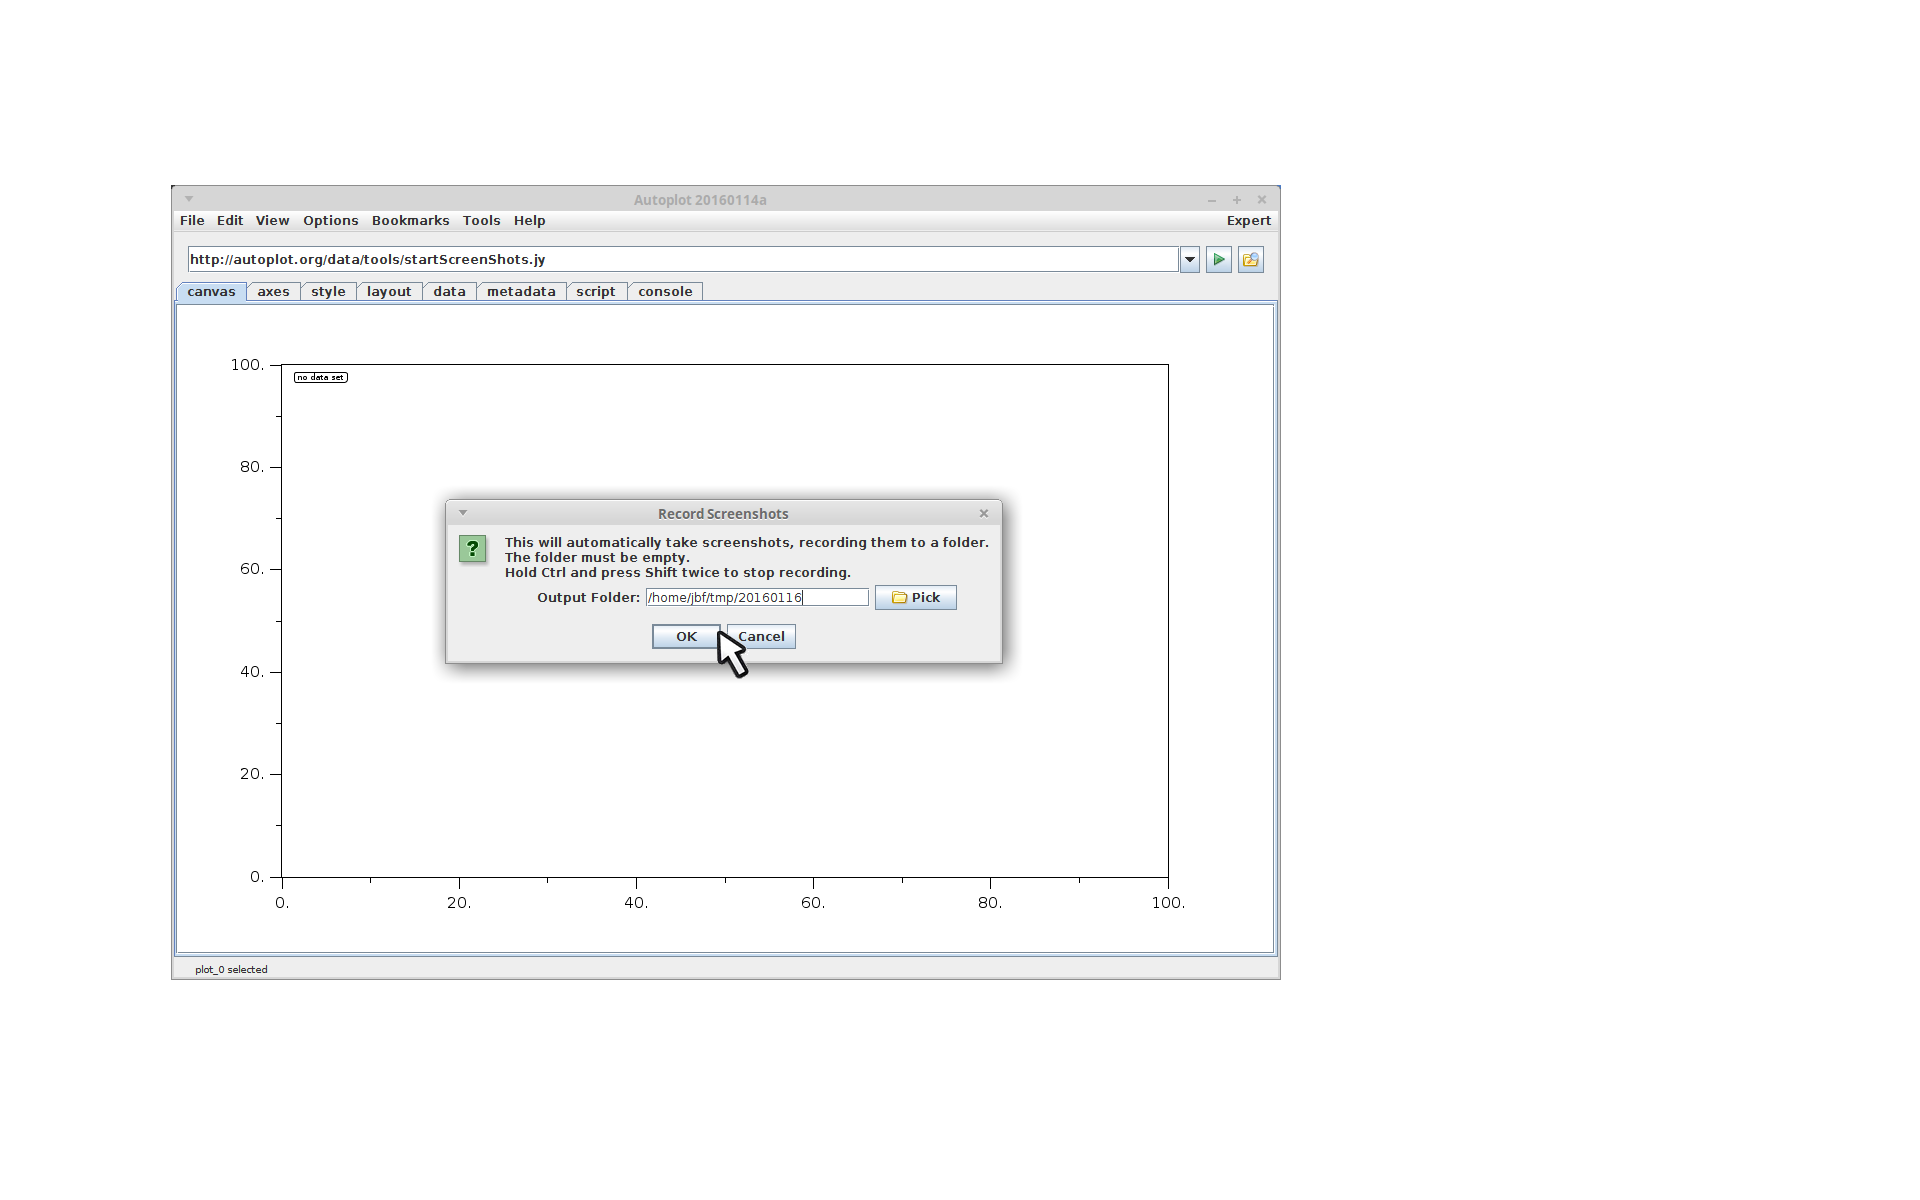
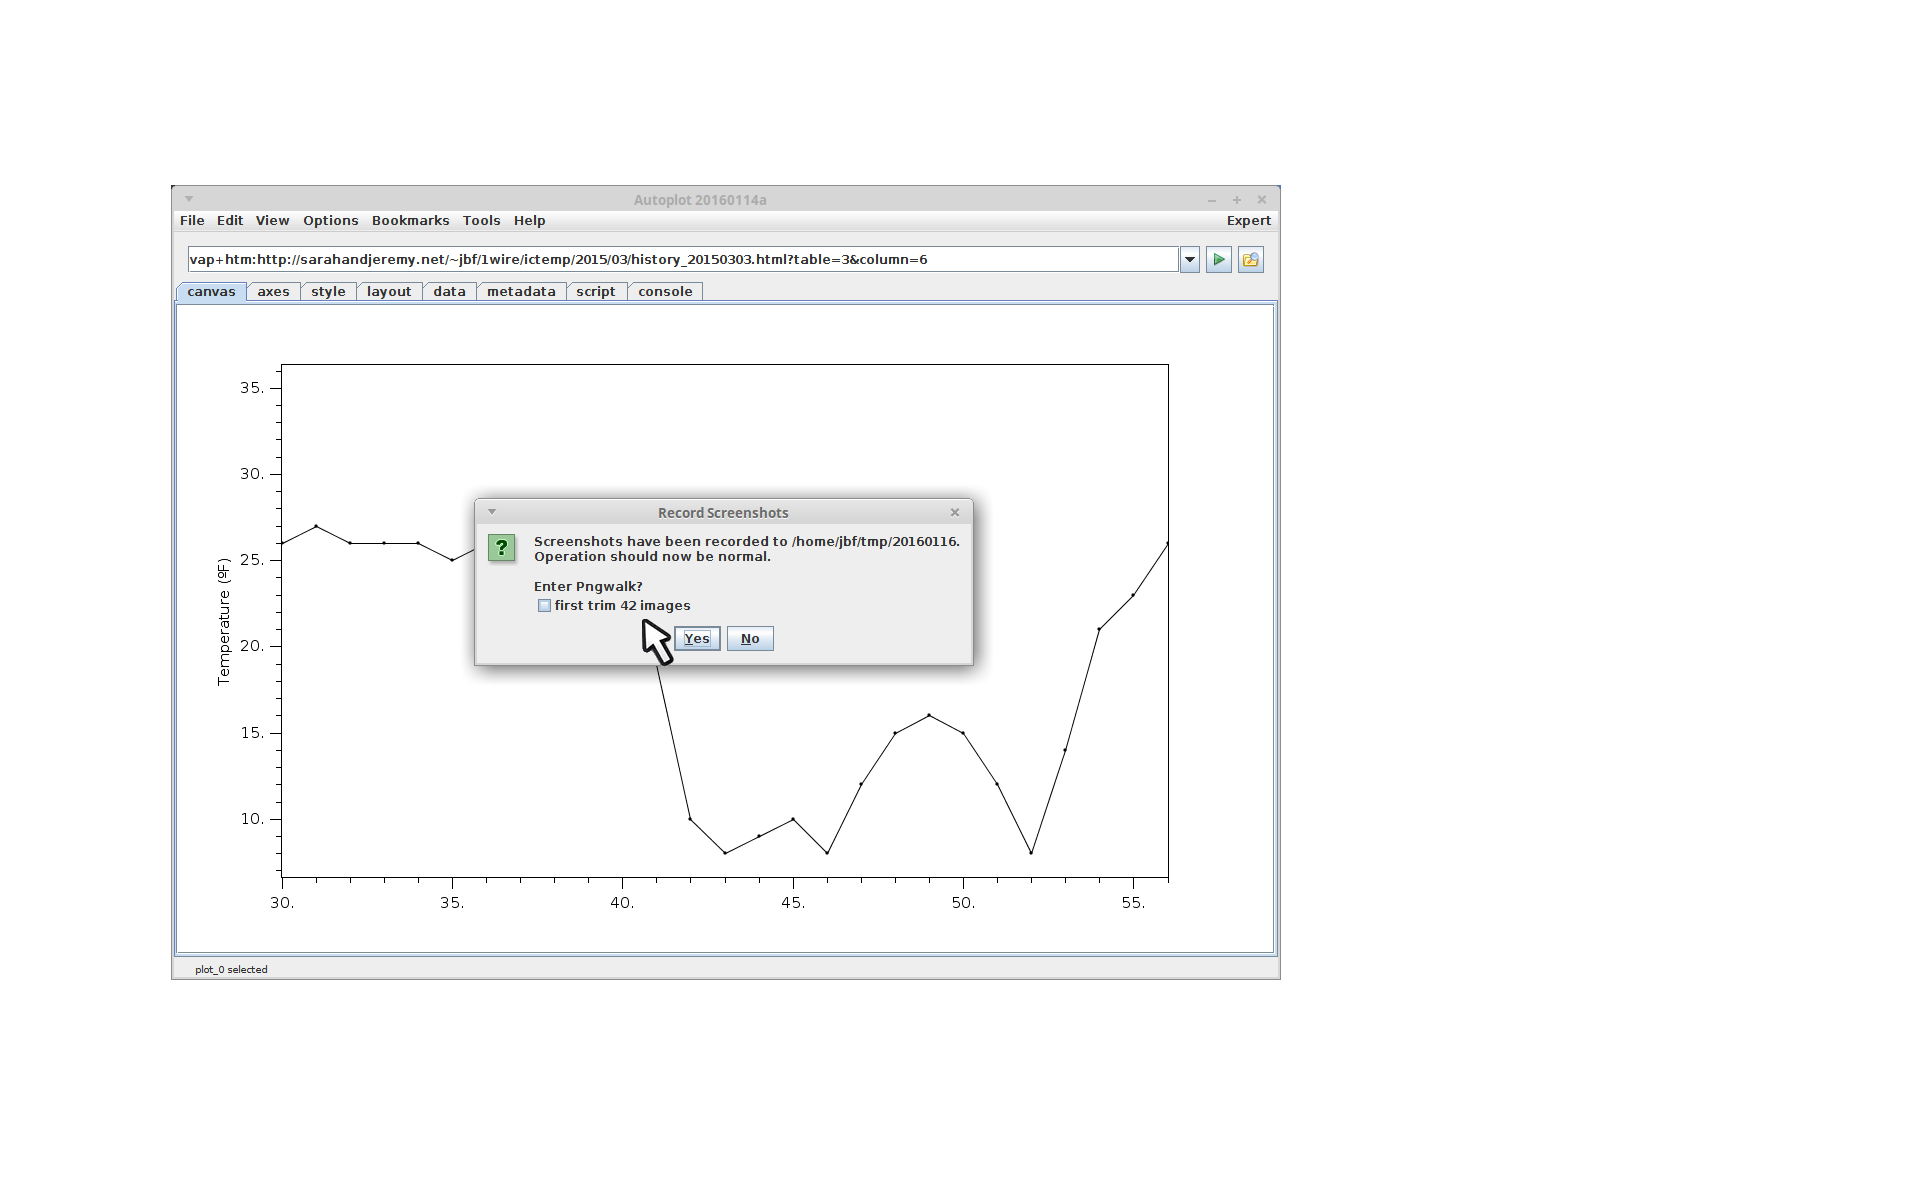
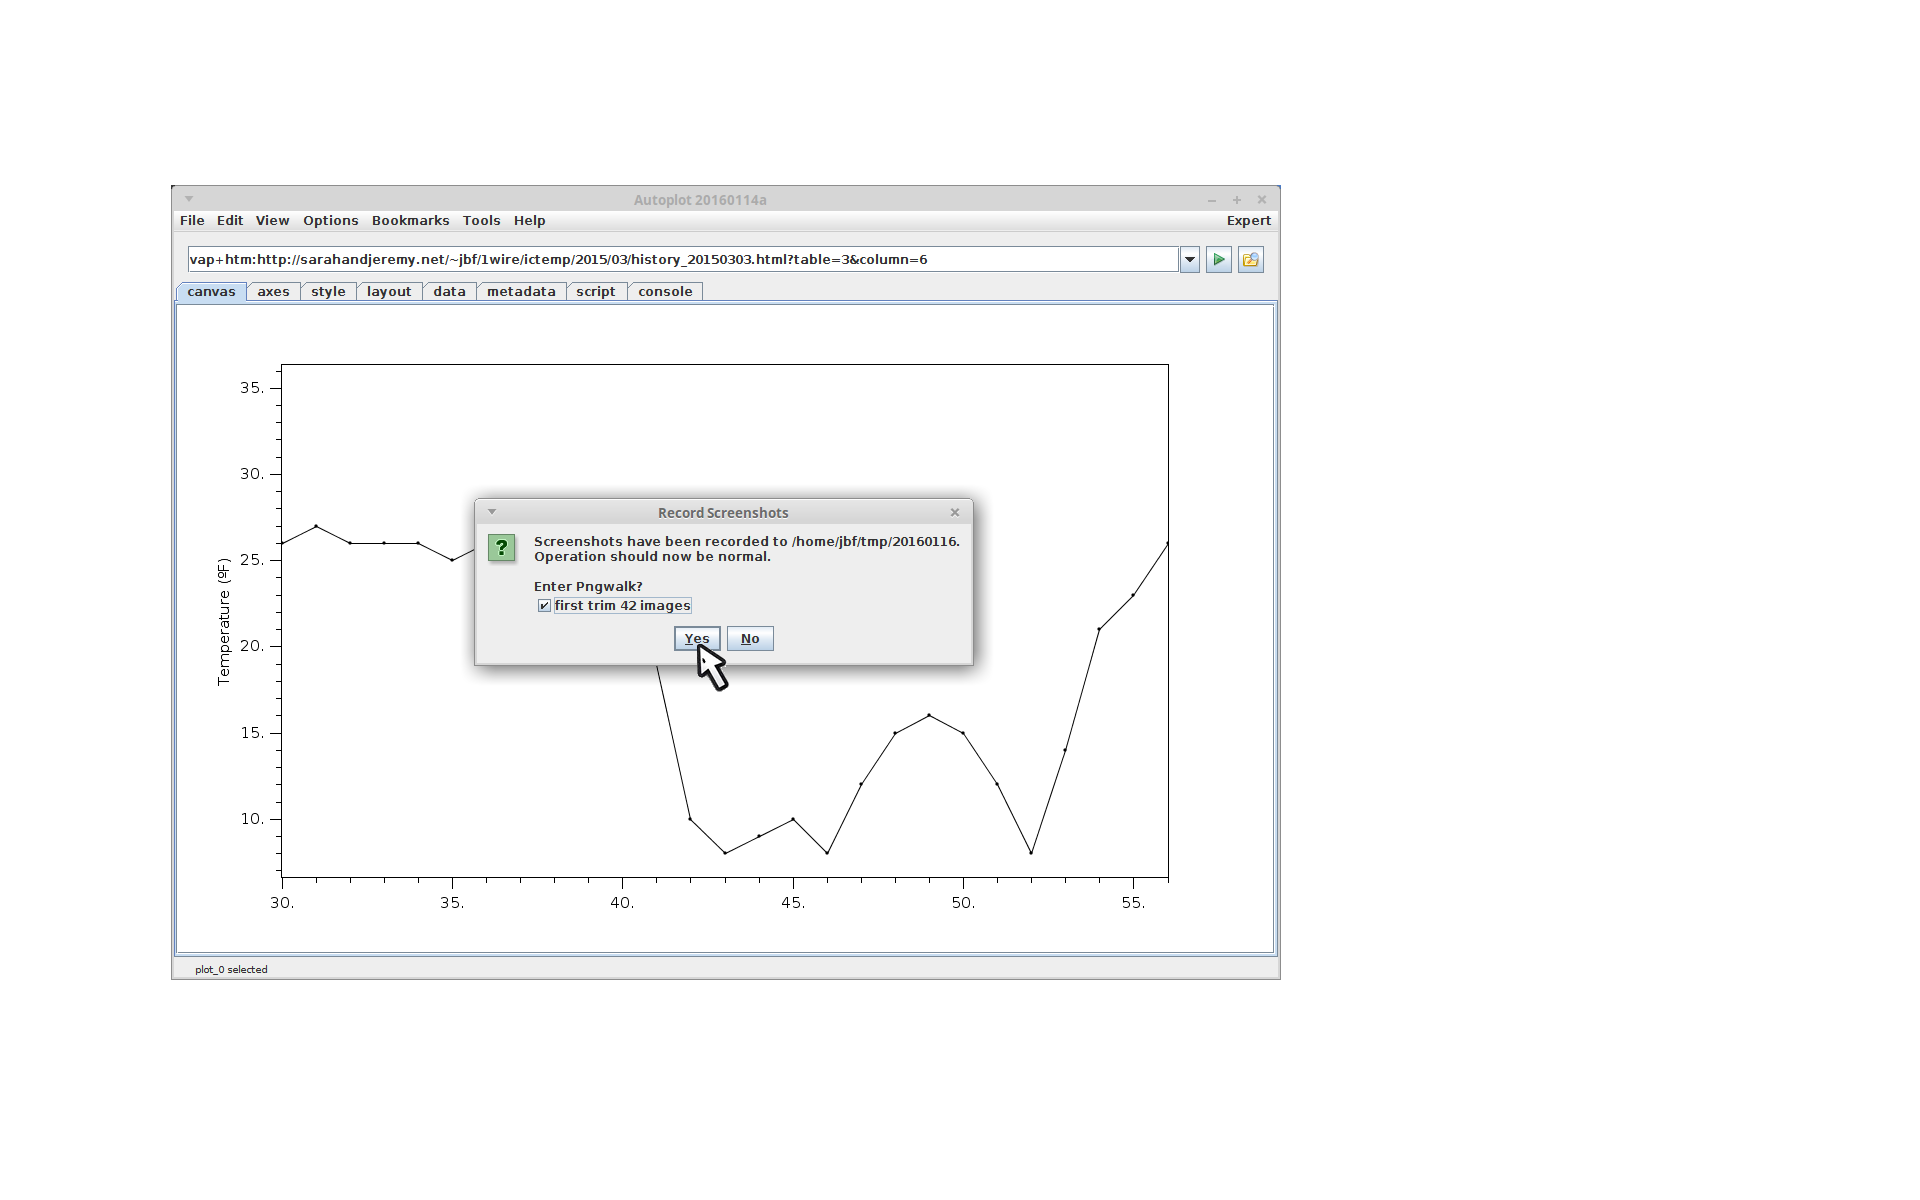
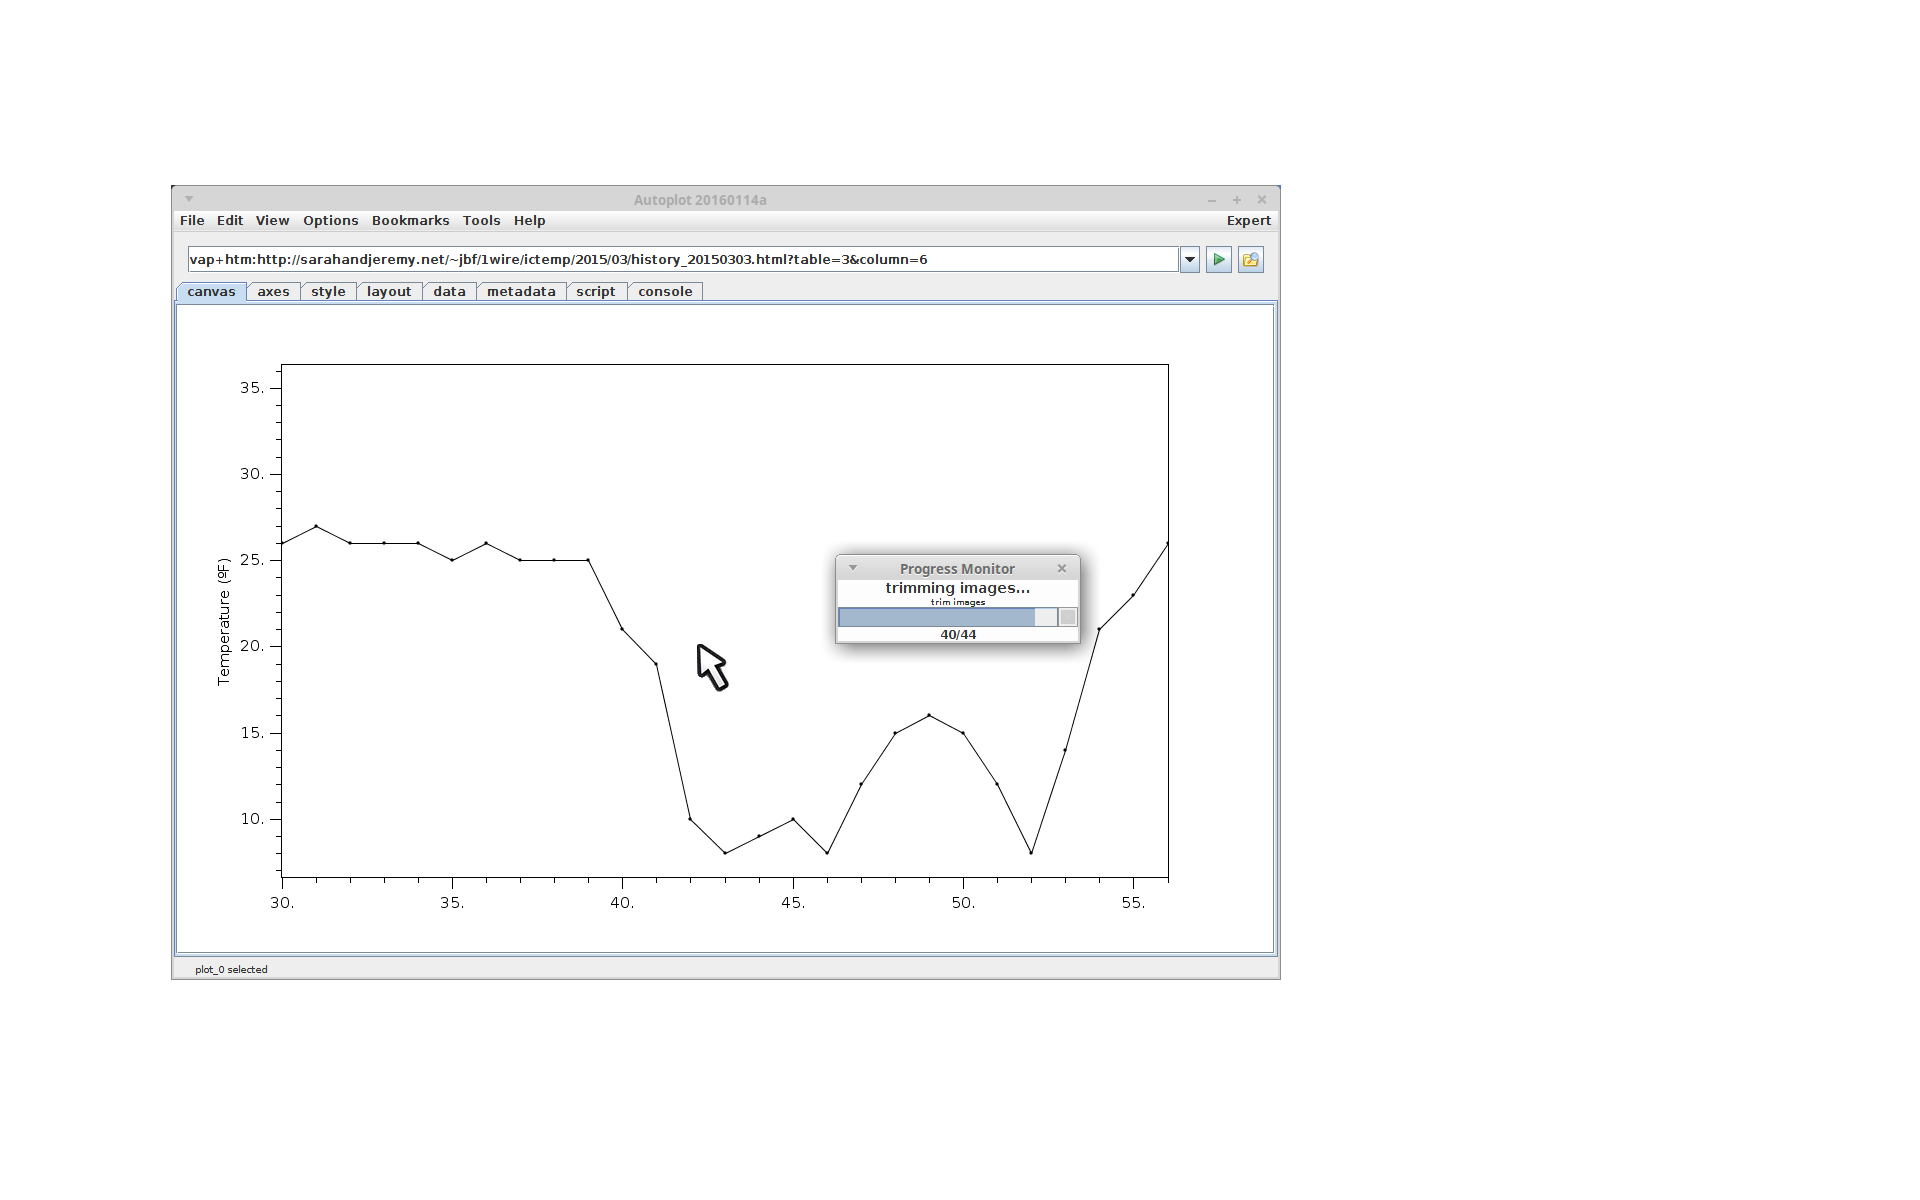
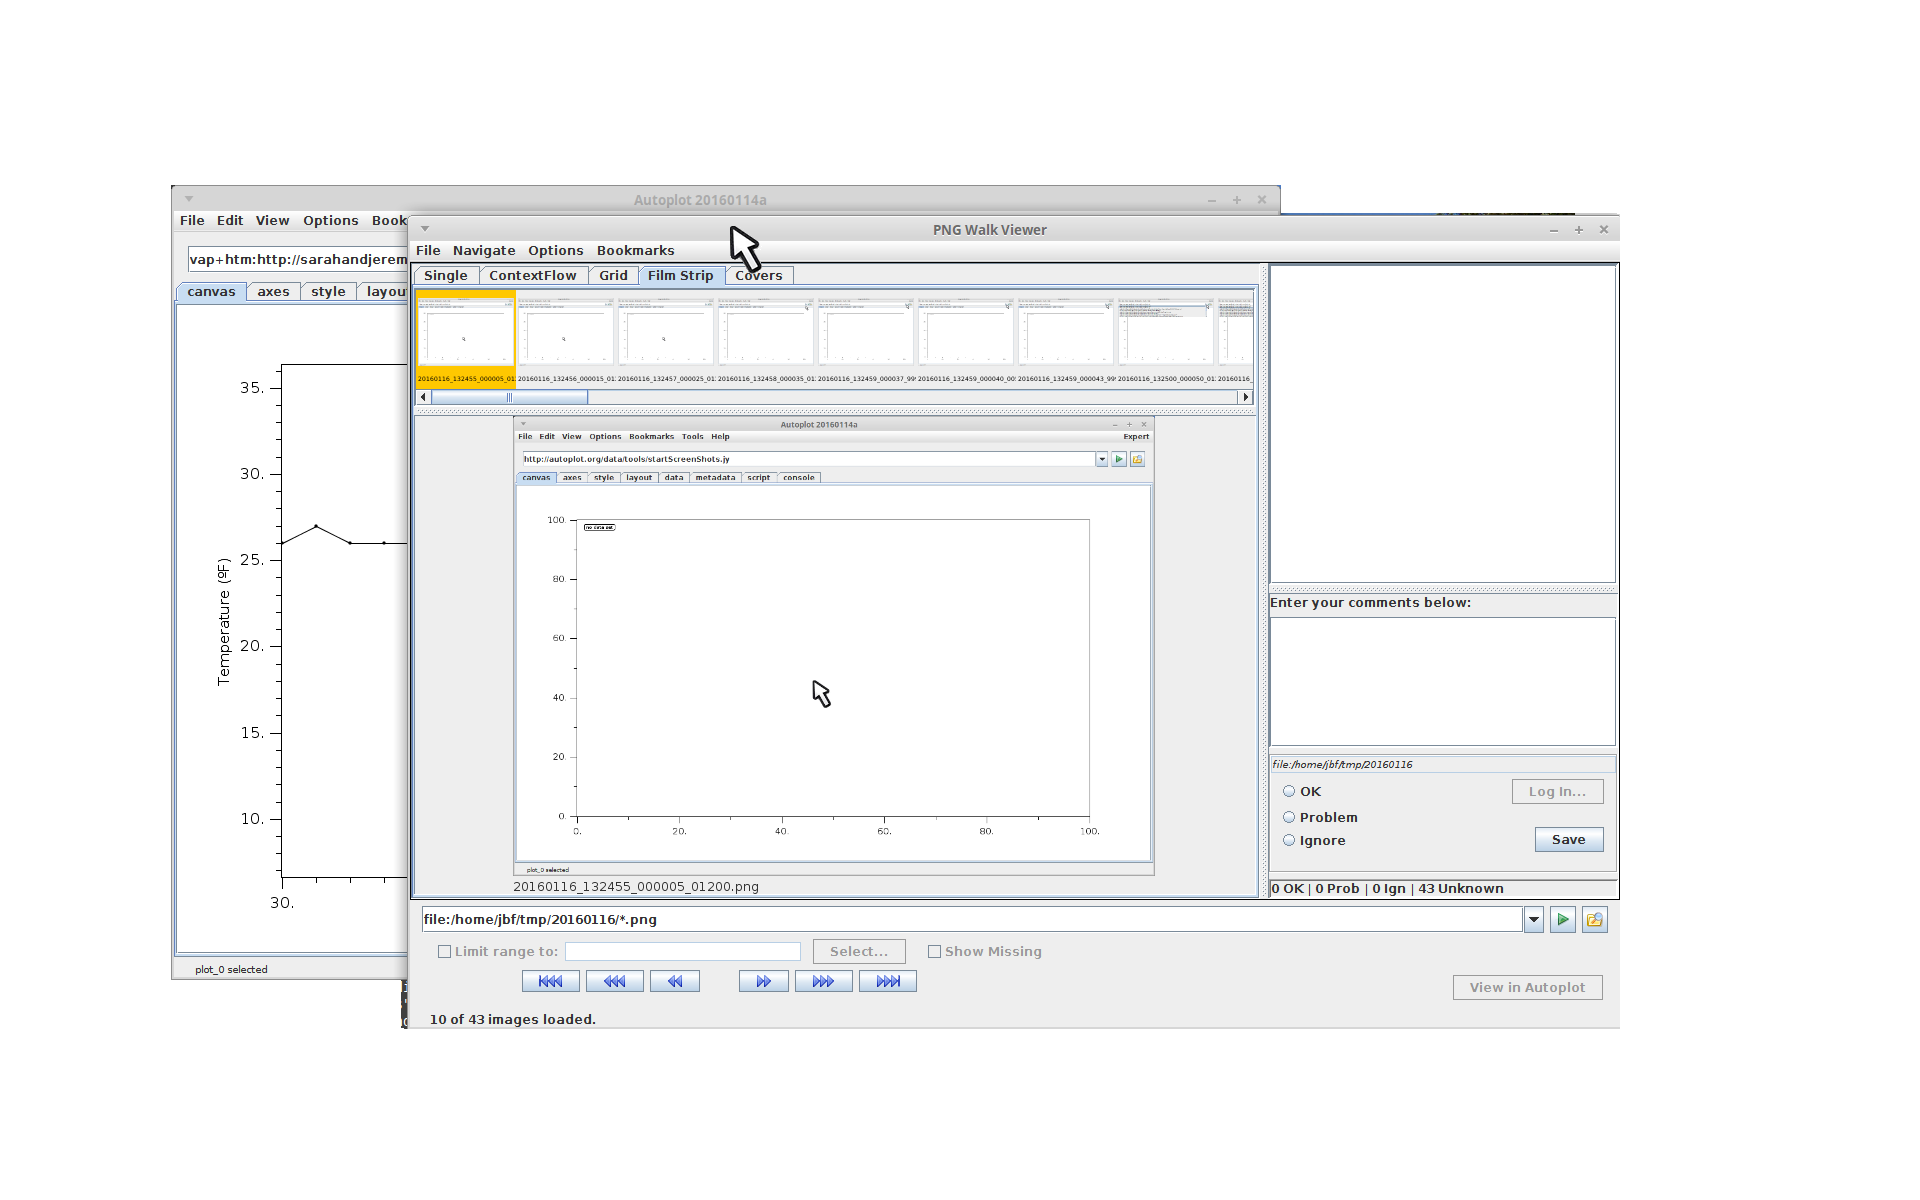
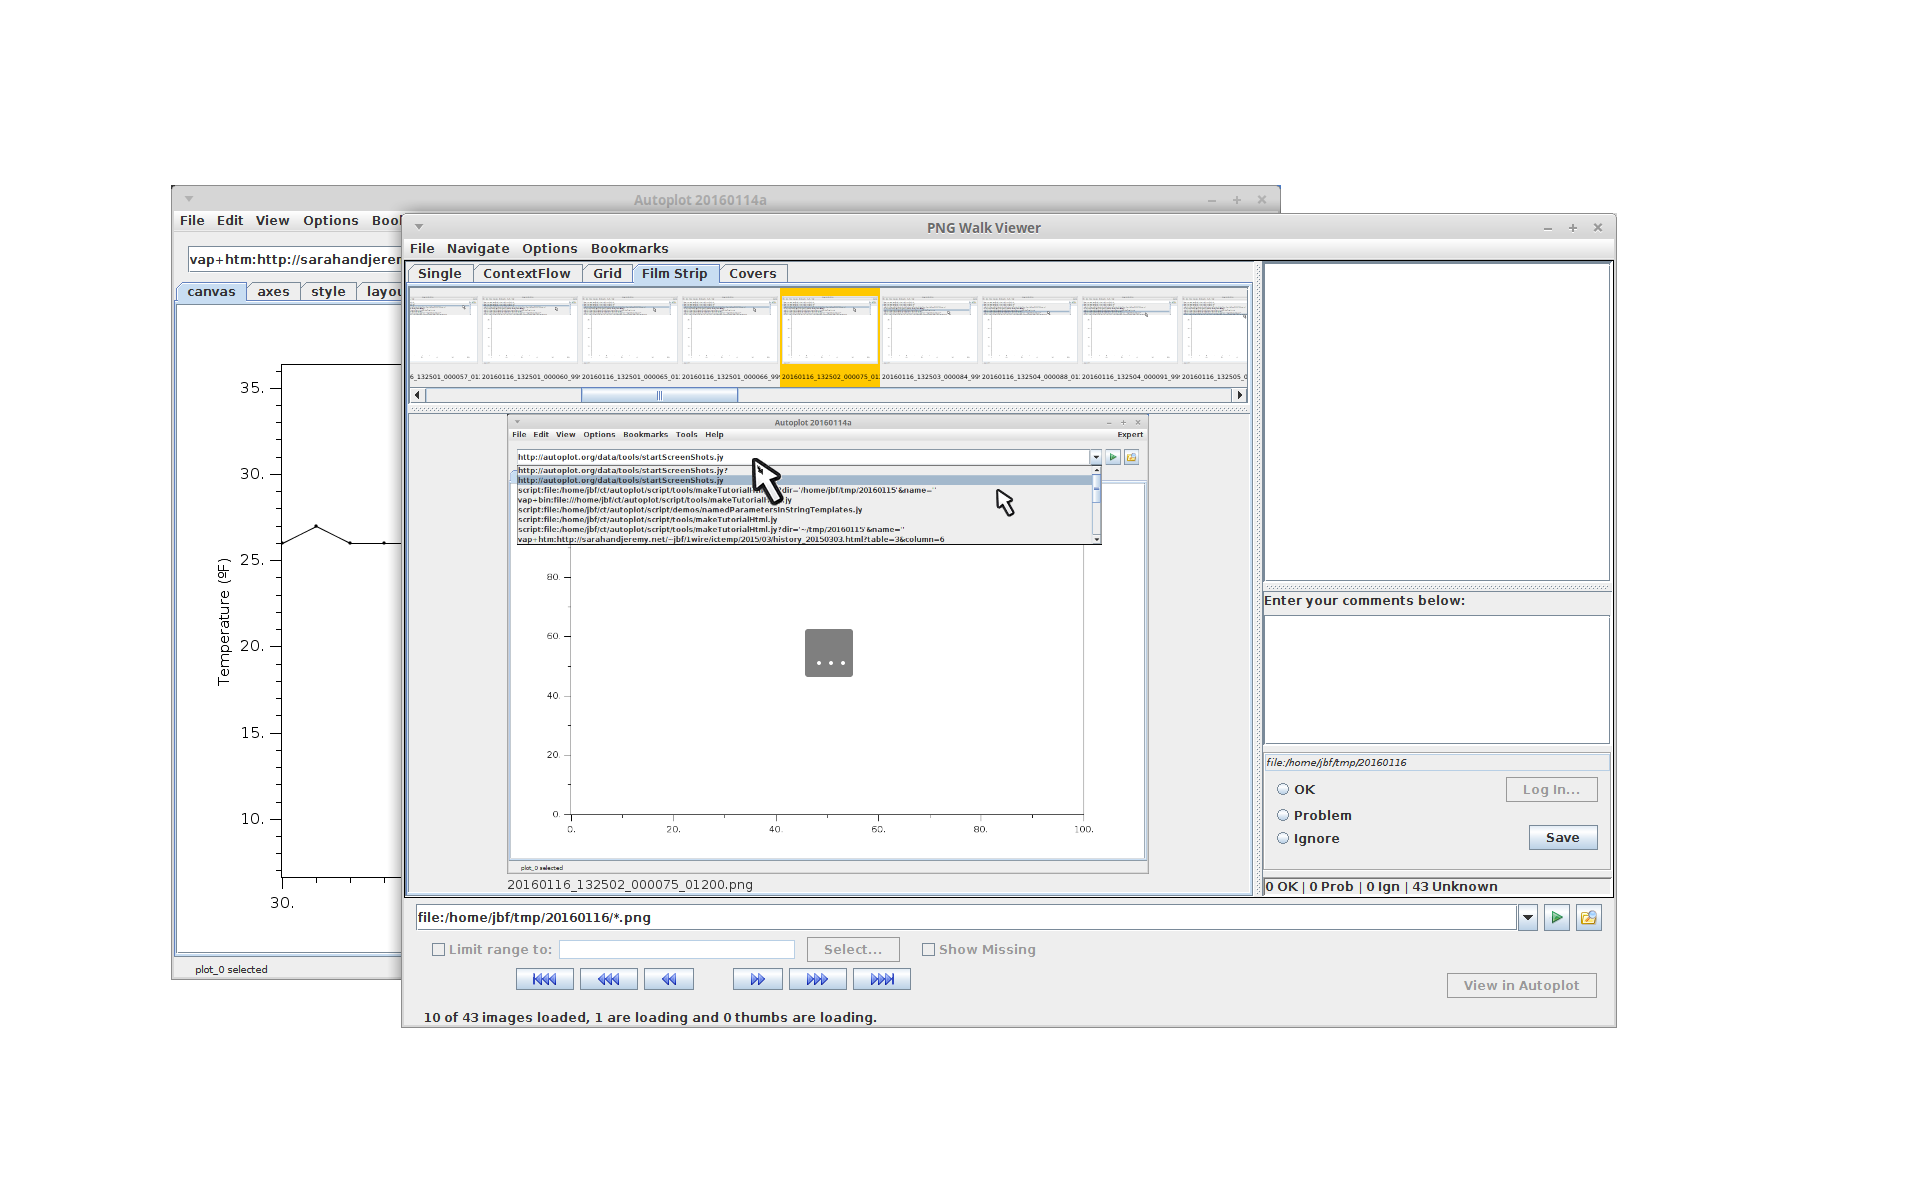
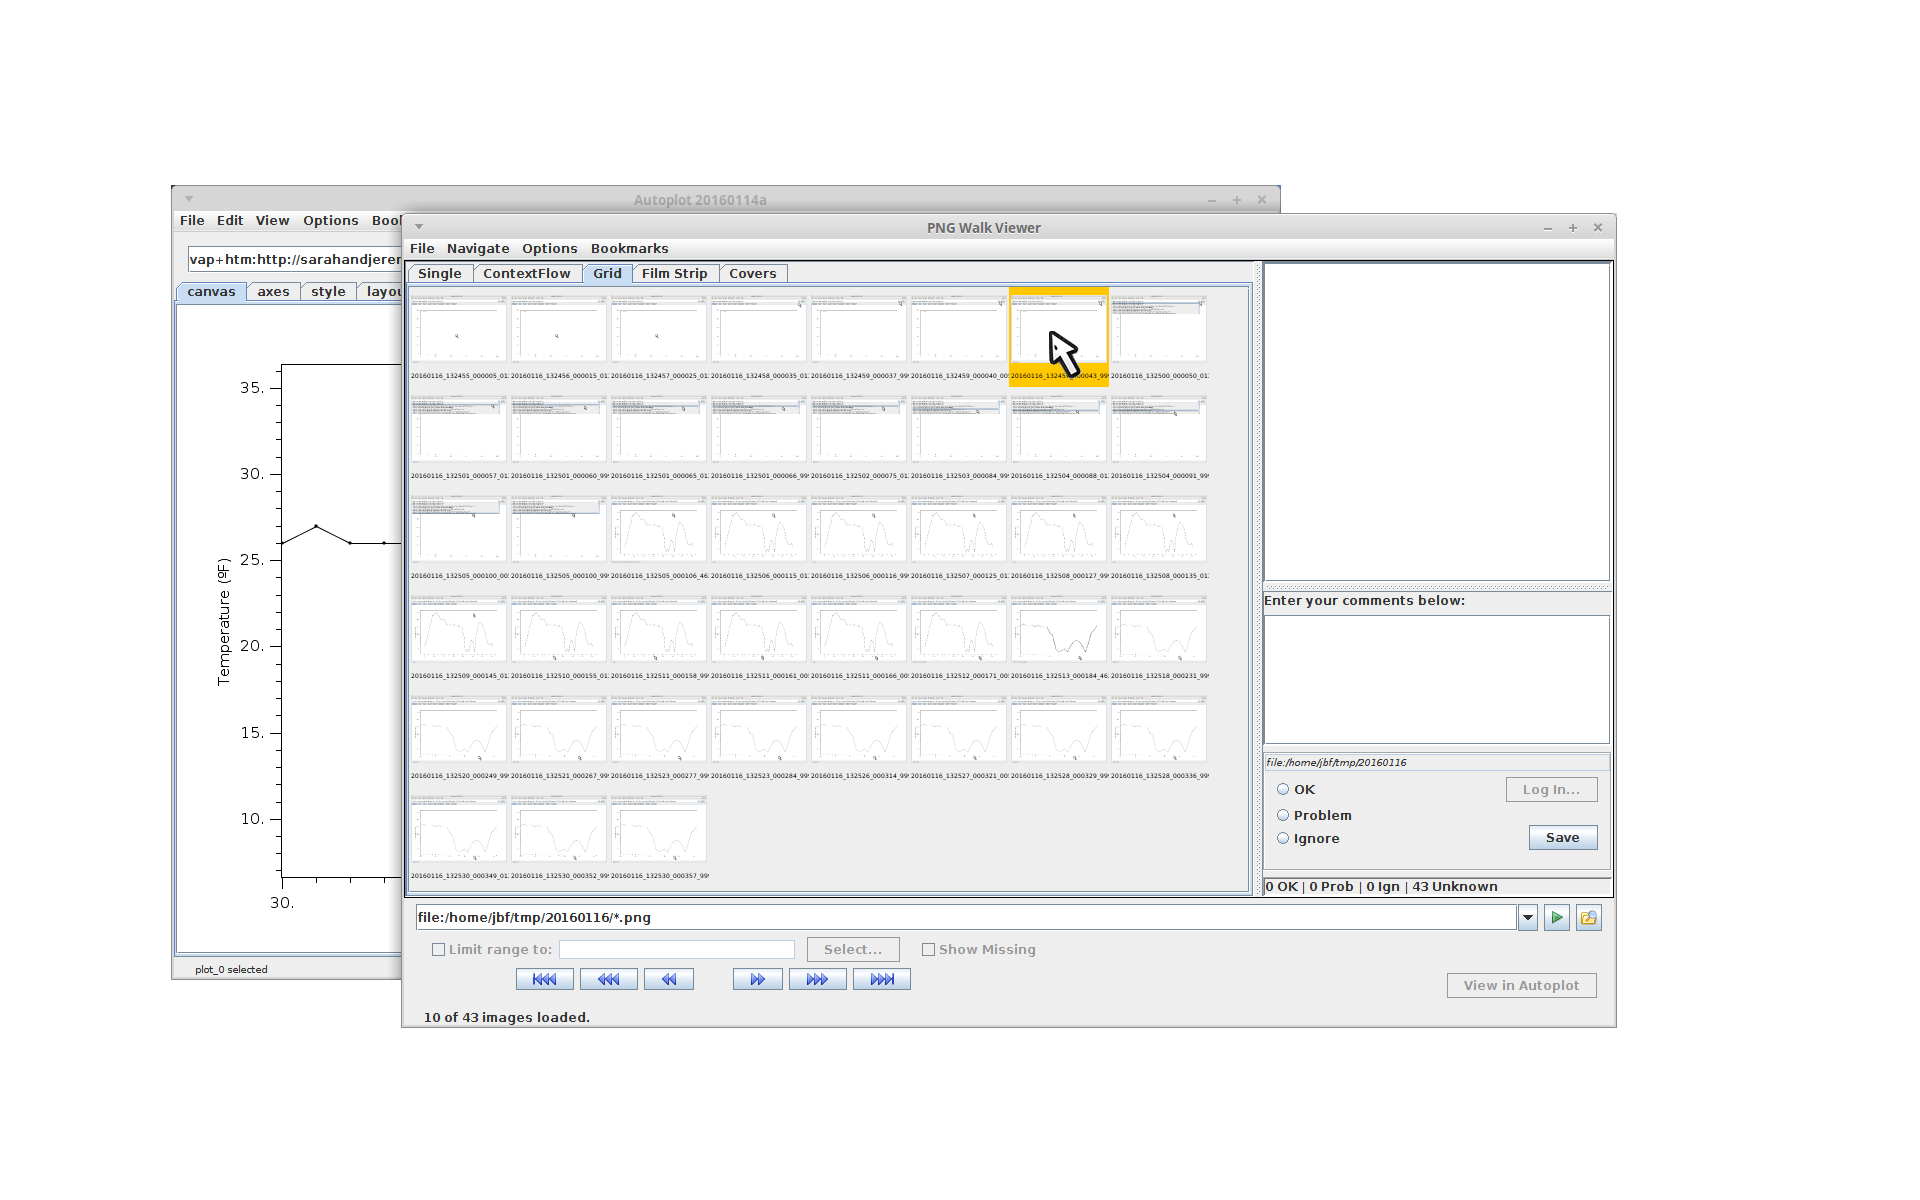
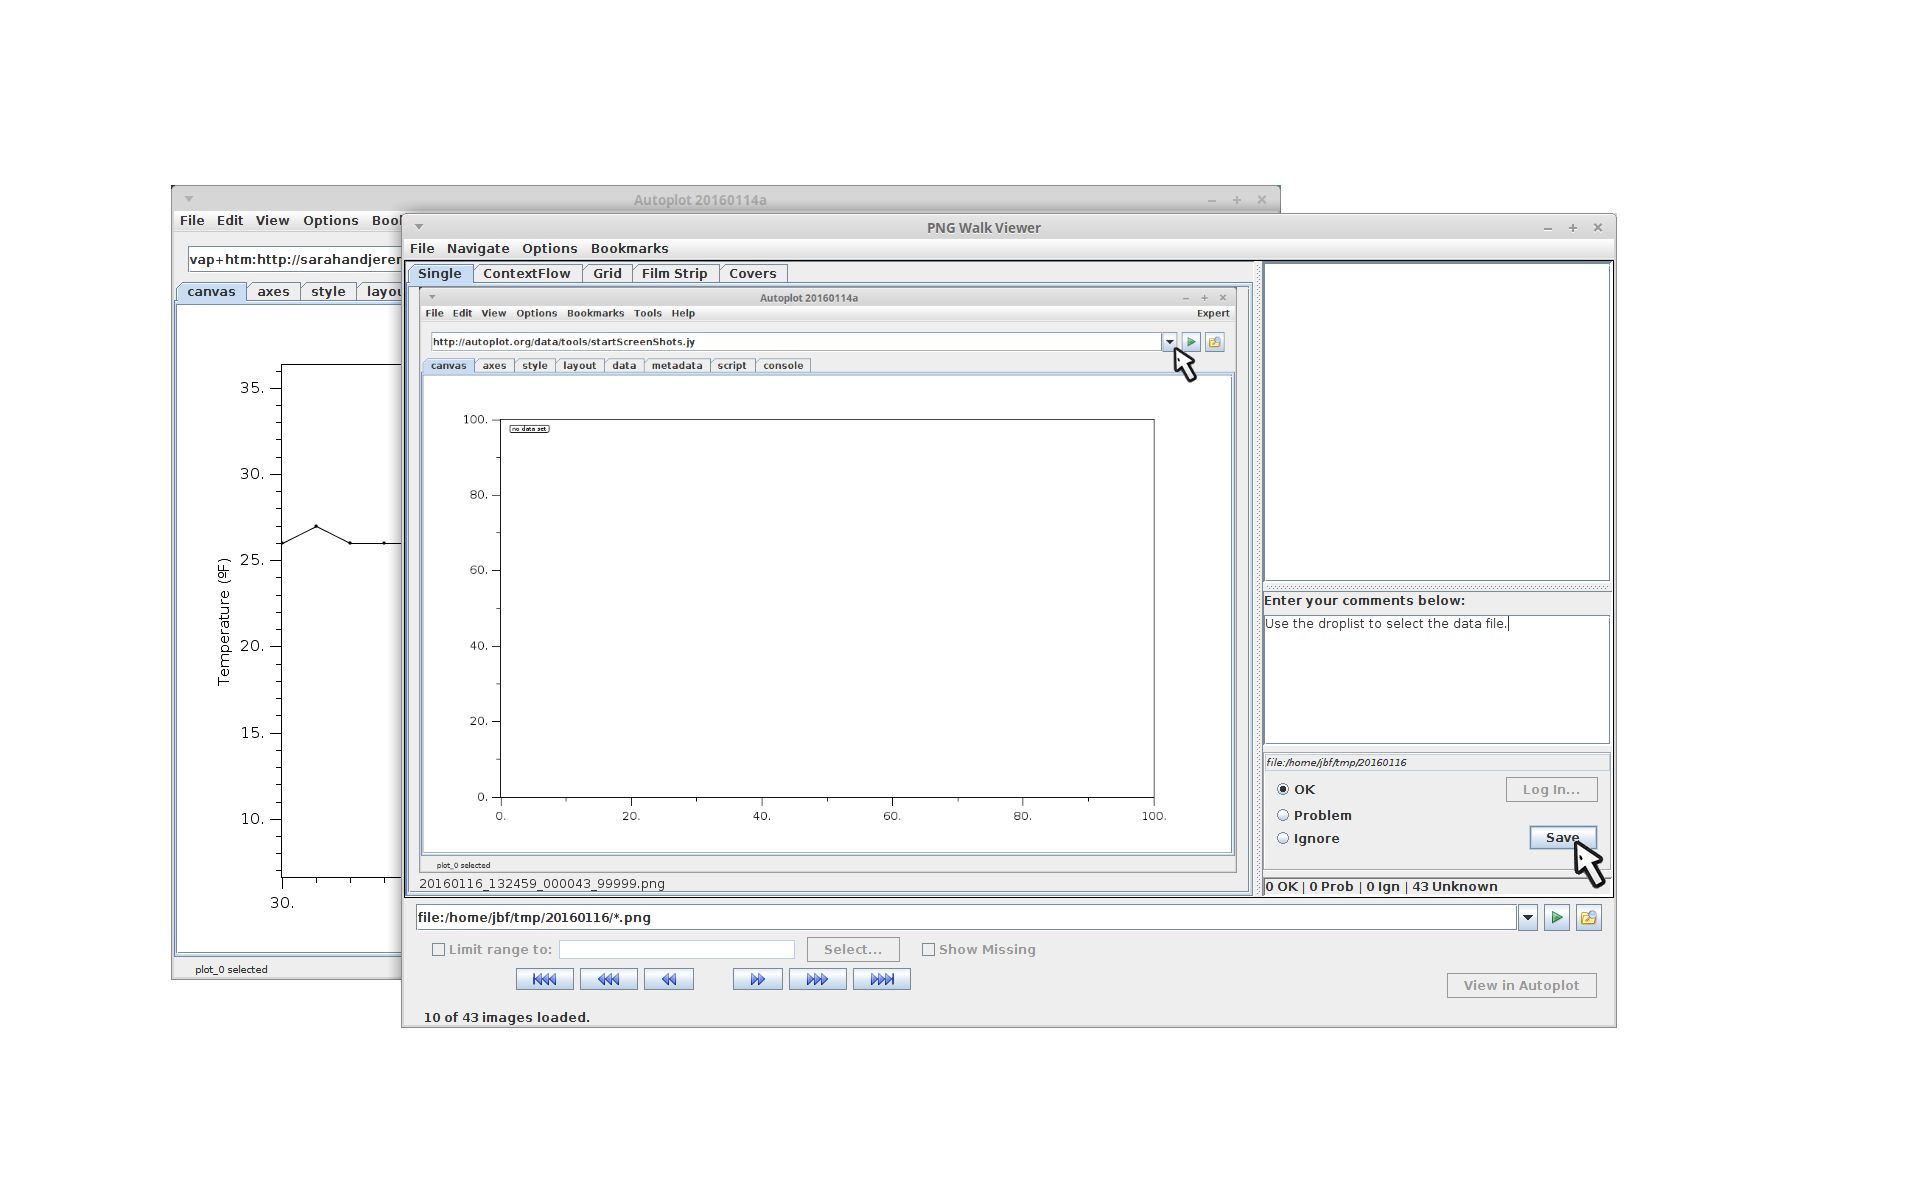
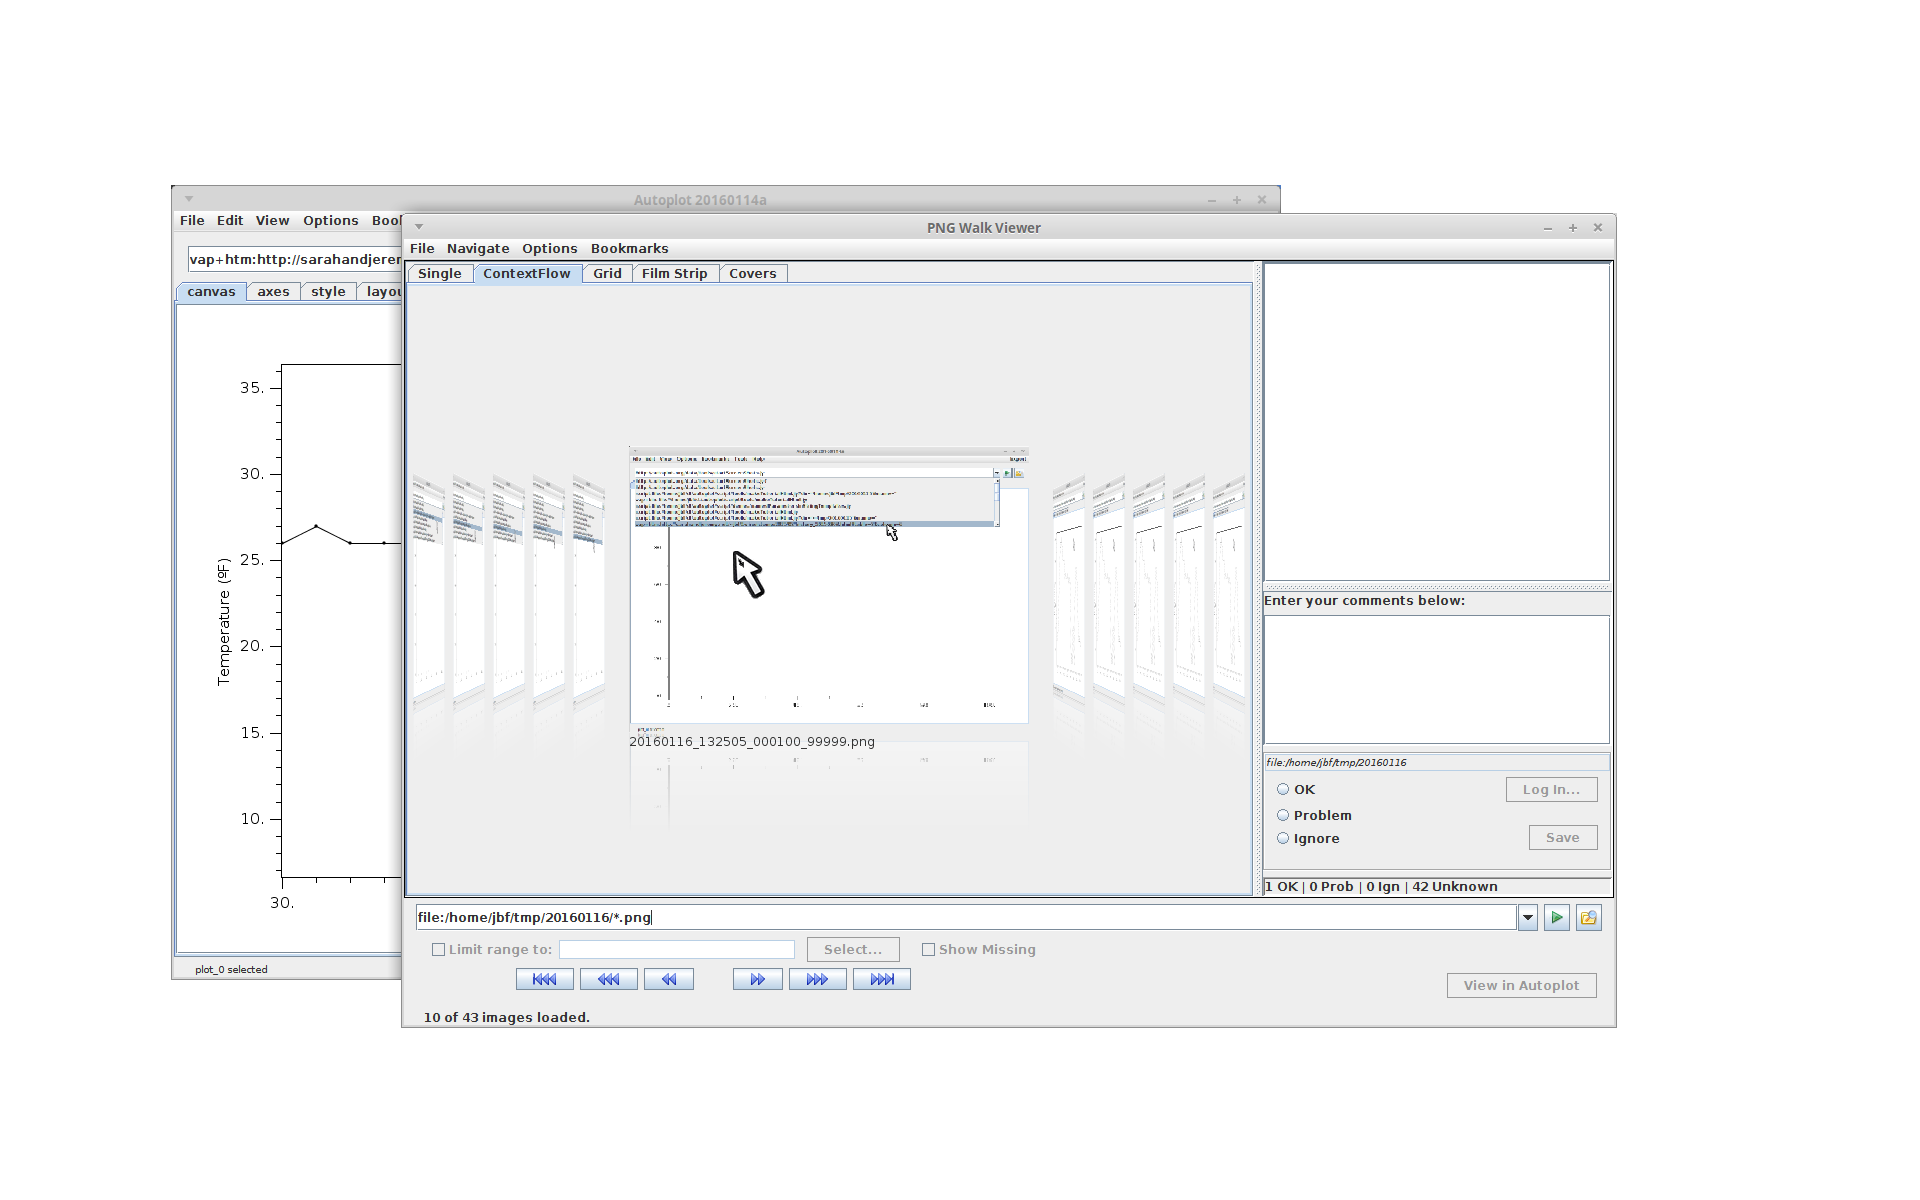
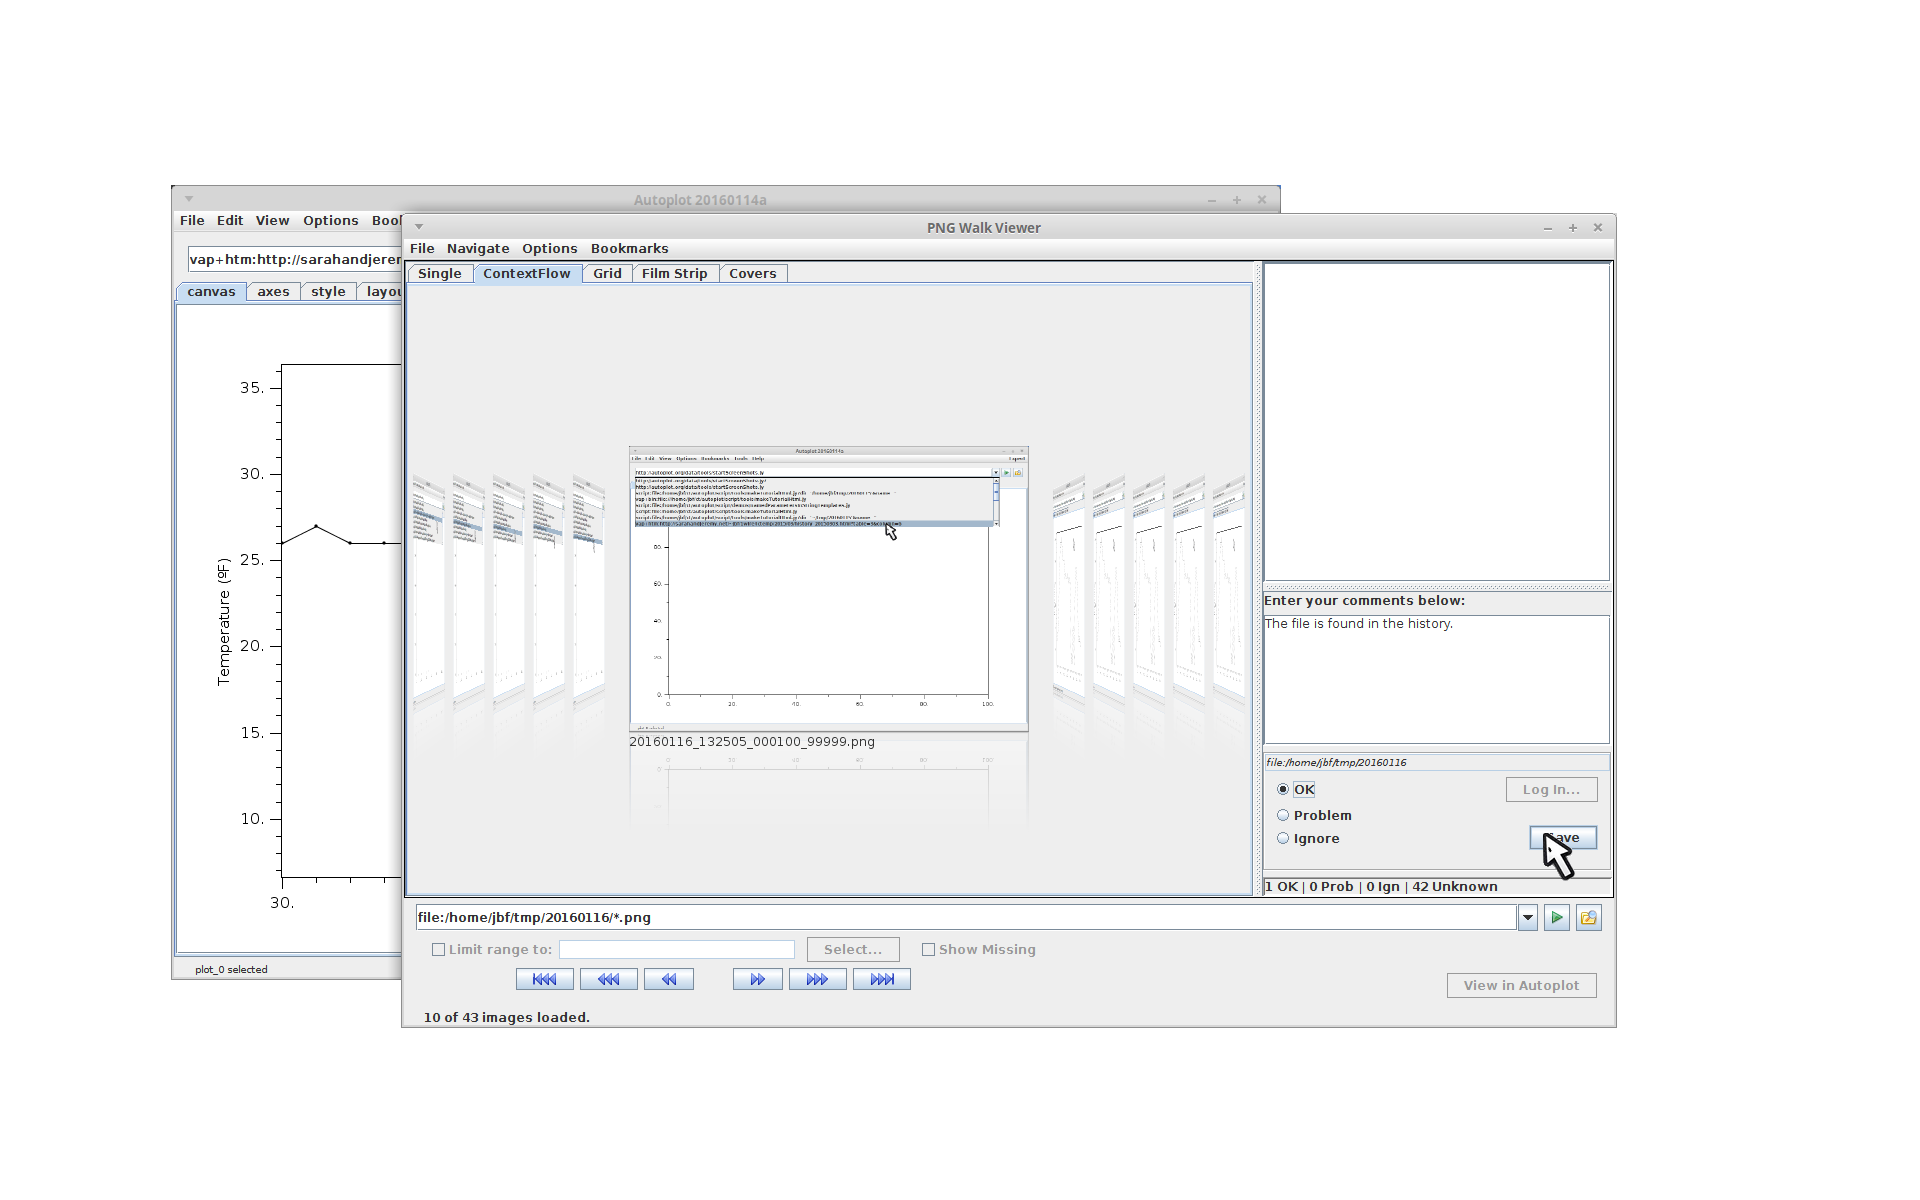
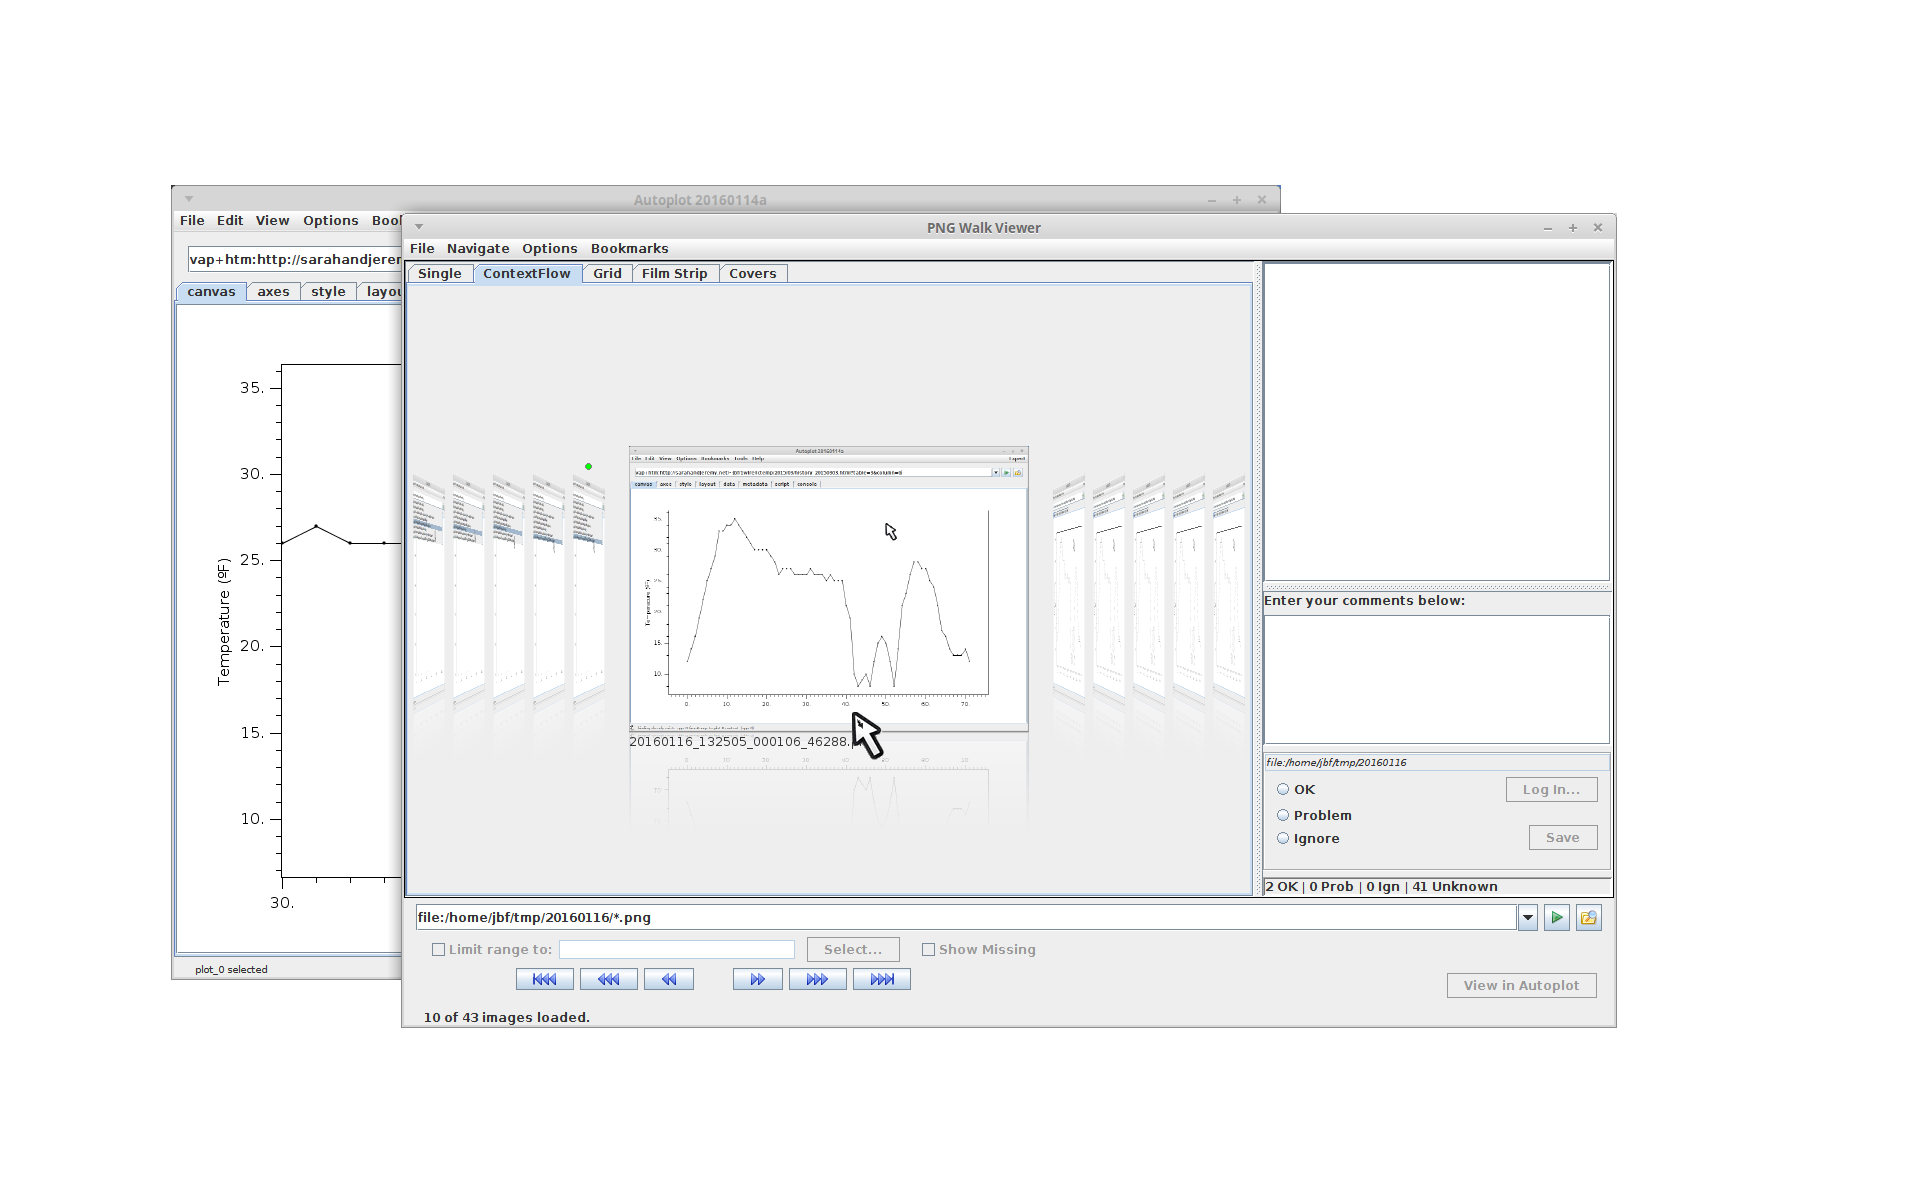
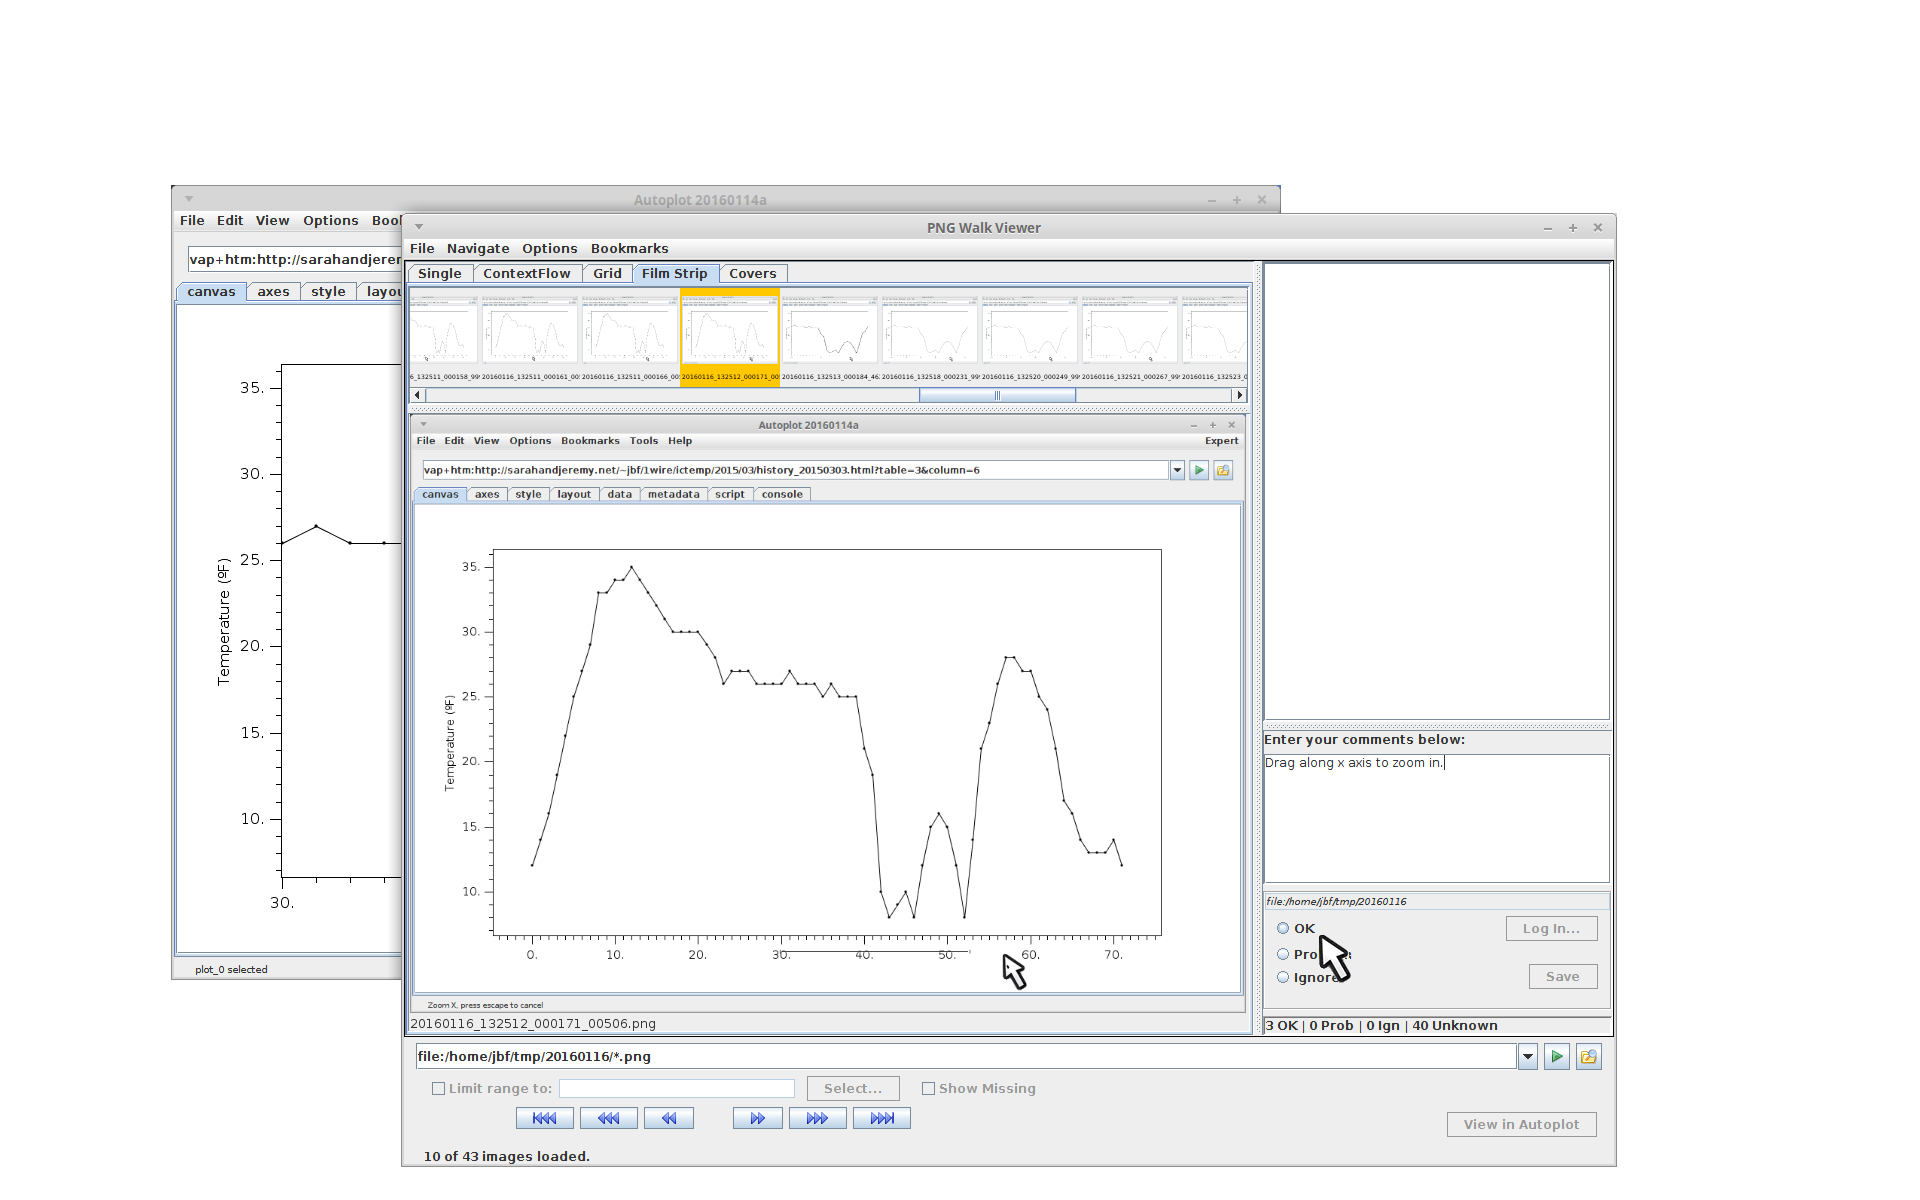
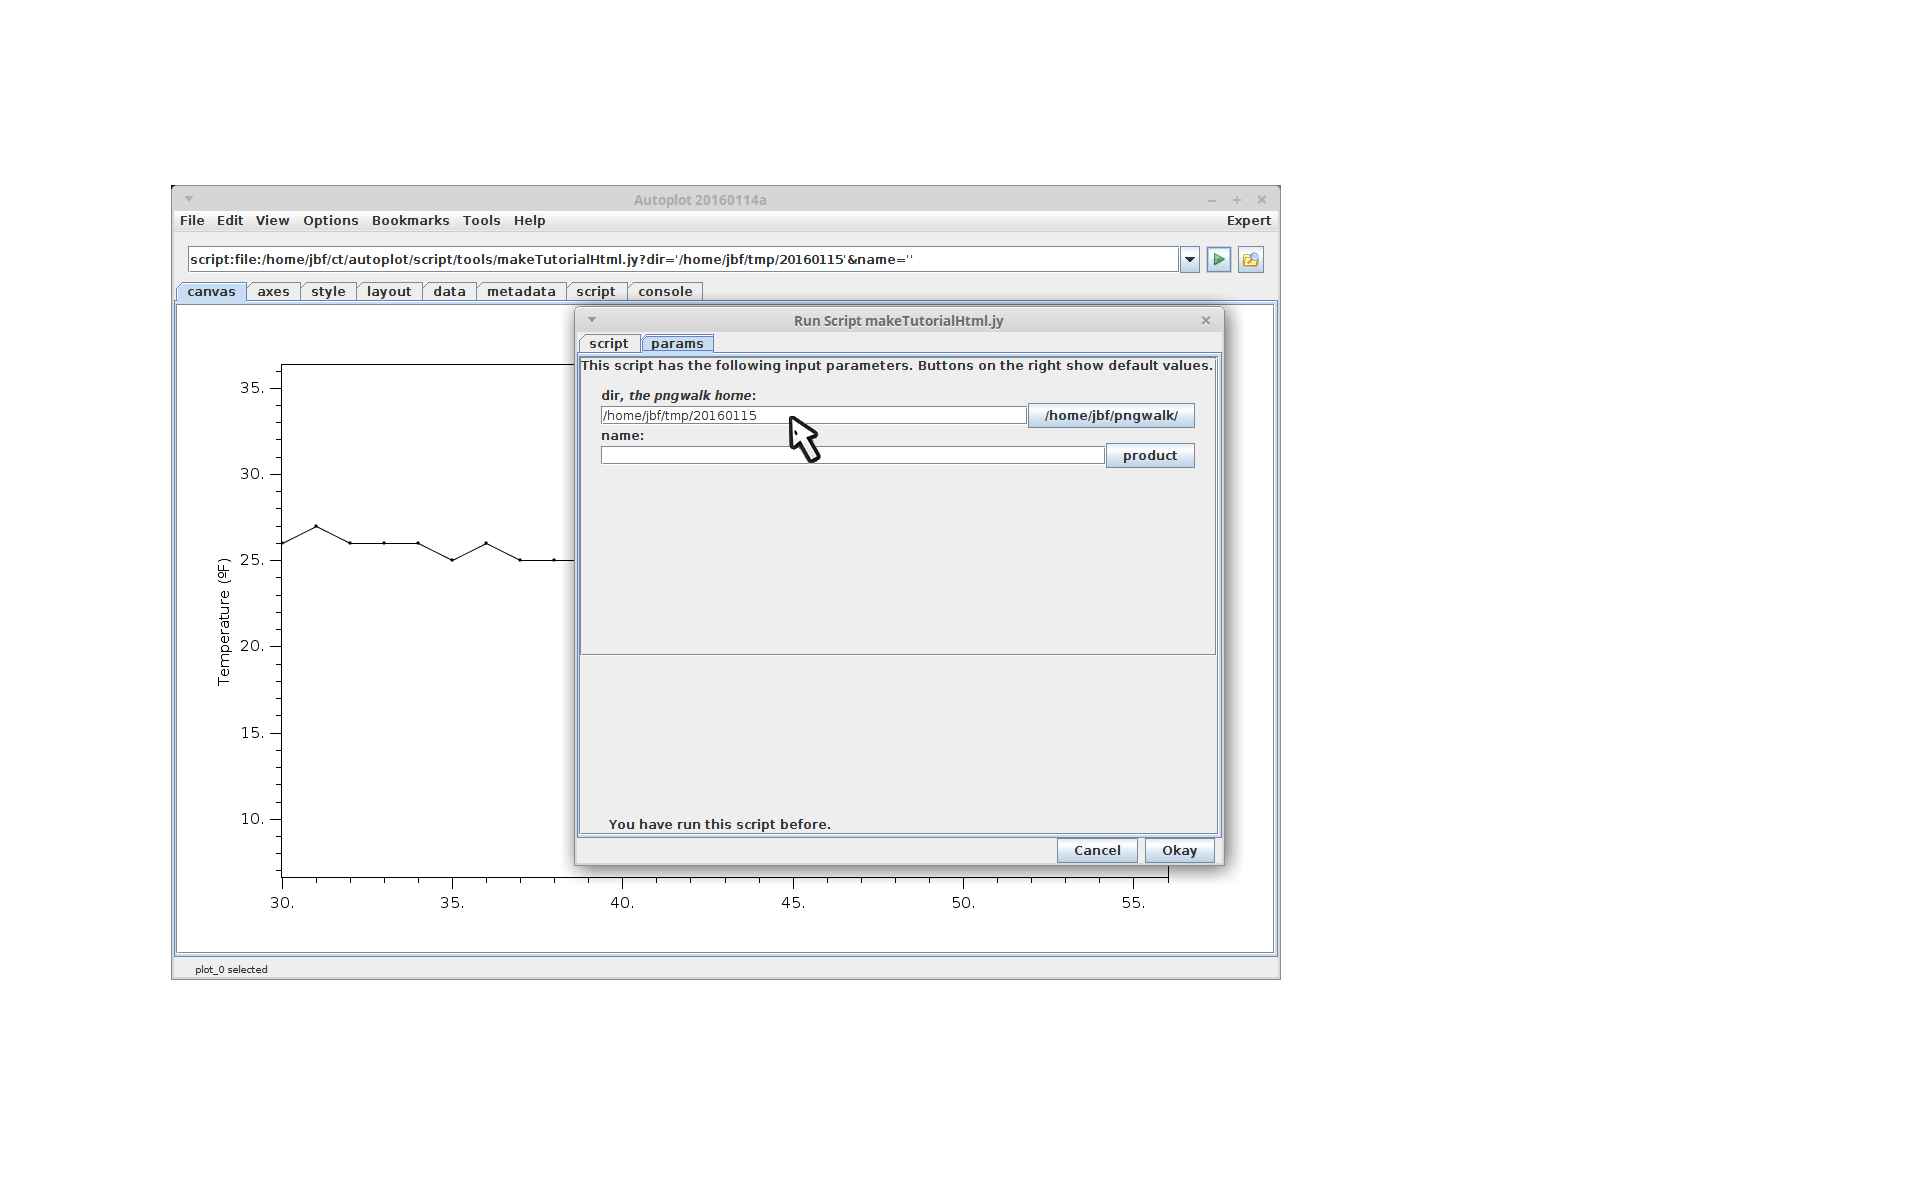
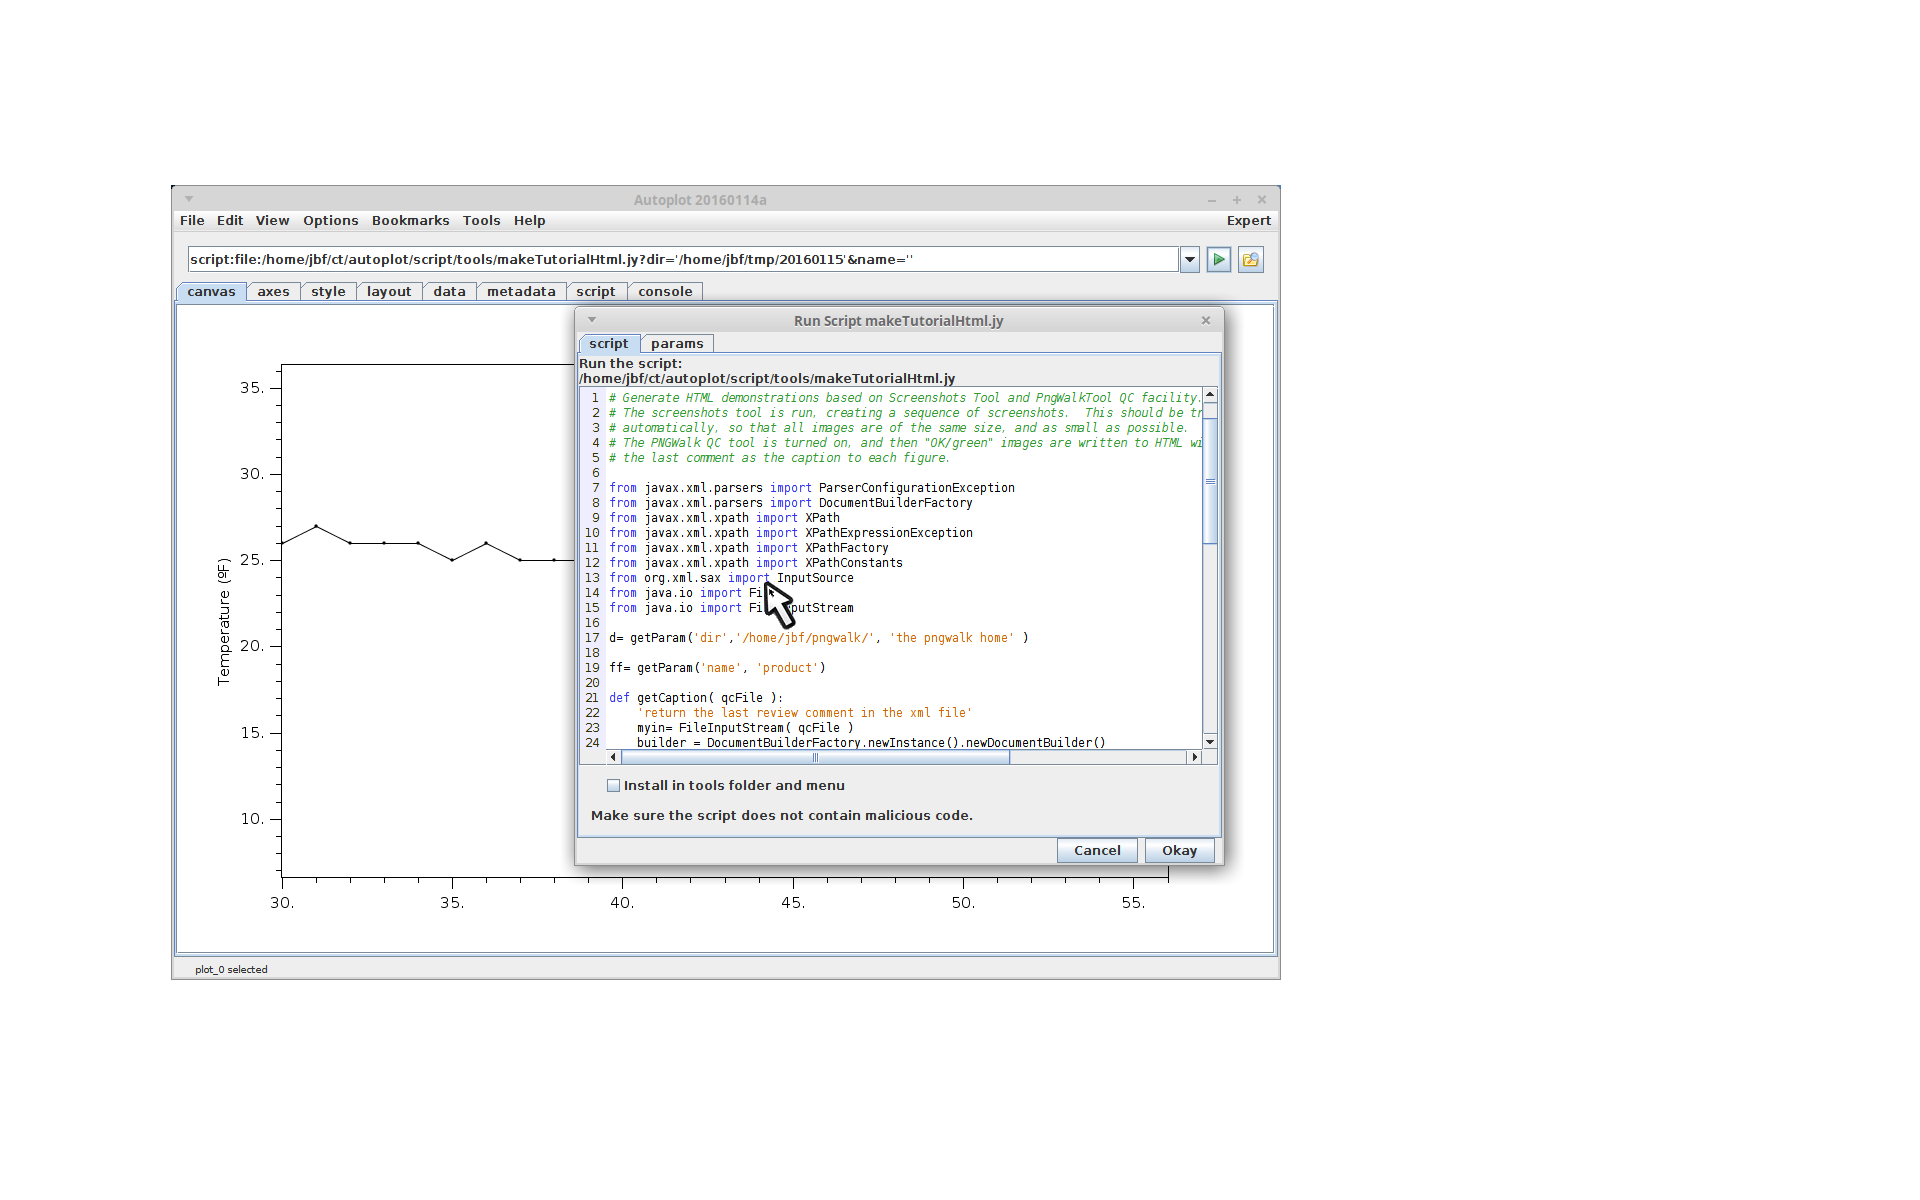
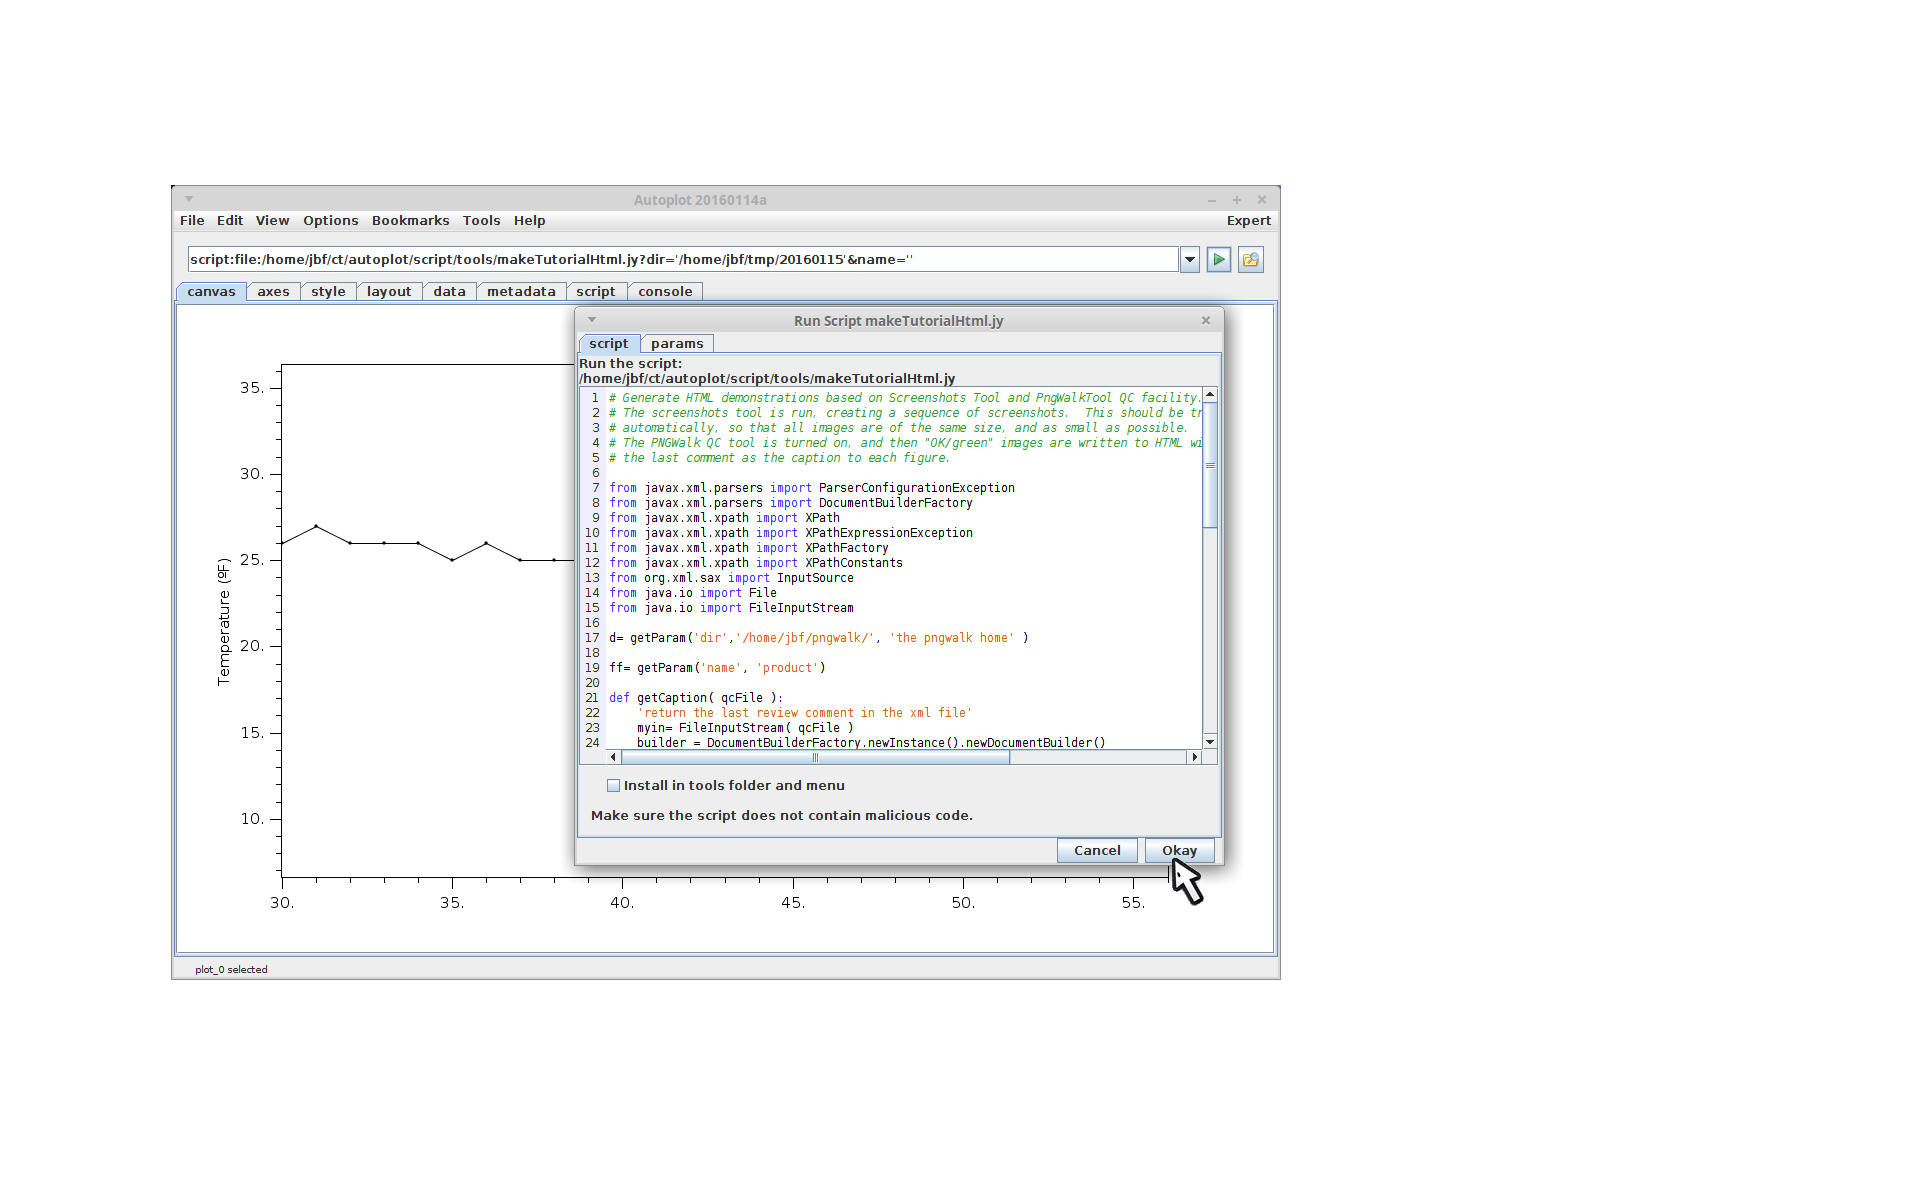
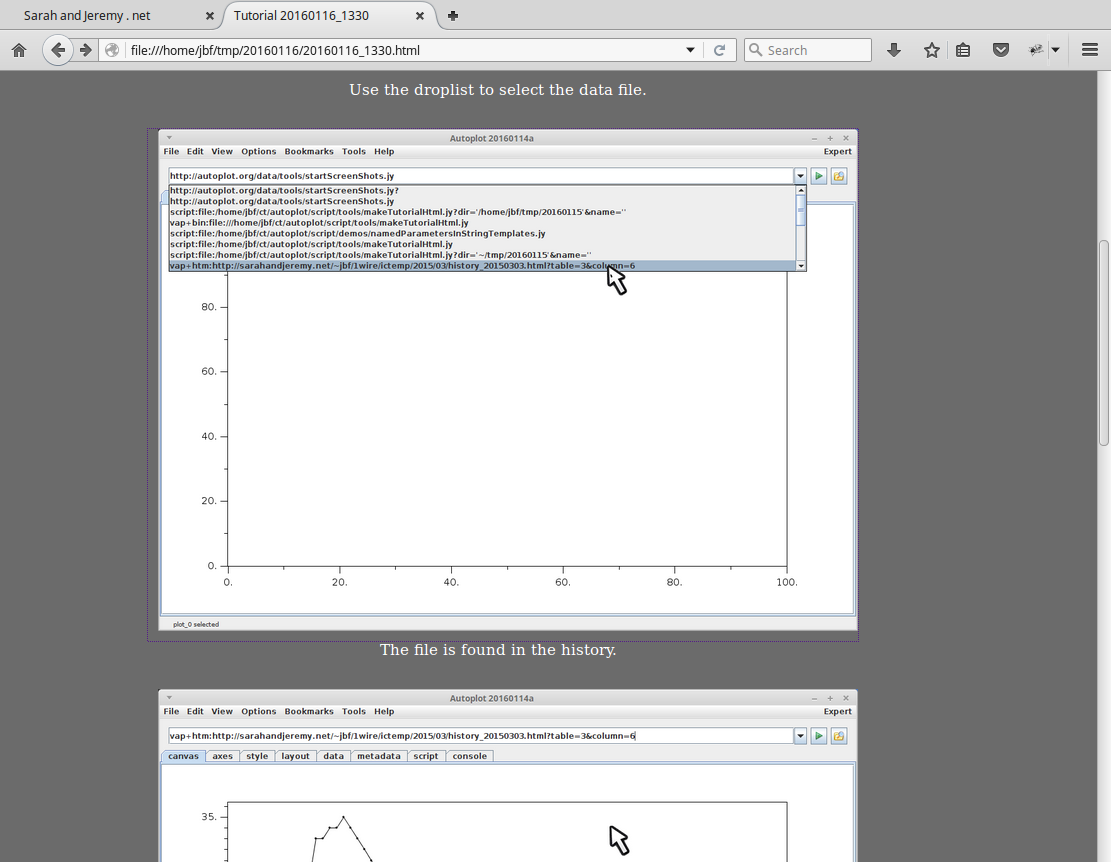
The screenshots tool records images to a directory, listening to GUI events to trigger recordings. It masks the non-Autoplot windows for privacy.Start the screenshots tool.Enter the location where the images will be stored. This should be a fast local drive.Note the screenshots tool tries to indicate mouse position and button clicks. Here you can see the operator is to left-click on the OK button.Do the demo...Hold Ctrl and tap Shift twice to stop recording.The images are recorded with the non-Autoplot windows hidden. The "first trim" checkbox will remove the extra whitespace that is not used during the sequence.The Screenshots Tool goes through and figures out the bounds needed, and trims all the images to the bounds.After trimming, the PNGWalk Tool is used to comment on the images. The QC tool (right) is used to add text information to the images, which will be the slides of an html document.Scroll through to find the images to keep...The grid view can be used to find frames as well.Enter comments for the slide, and hit OK. Find the next "keeper" slide......and comment on it.Note the green dot above the keeper slides.Repeat...Here's the script that takes the QC comments and makes an HTML page showing the procedure. makeTutorialHtml.jyThe script's GUI is shown (or the script itsself, if its the first time it's run).(The script itself can be seen on the script tab.)Run the script which will produce an HTML document for the images, shown on the next slide. (Note this facility was used to produce the document you are reading, so an image of the browser, which is masked by Autoplot, must be added manually.)